You noticed gaps between your hardwood floor boards. Maybe they appeared during winter, or maybe they’ve been there for years.
Either way, you want a repair method that actually works without paying for a contractor.The good news is that many hardwood floor gaps can be fixed at home using simple tools and basic DIY skills.
The right solution depends on the size of the gaps, the cause of the problem, and whether the boards still expand and contract with seasonal humidity changes.
In this guide, you’ll learn practical DIY methods to repair hardwood floor gaps, the best materials to use, estimated repair costs, and the common mistakes that can make gaps worse over time.
Why Gaps Appear in Hardwood Floors
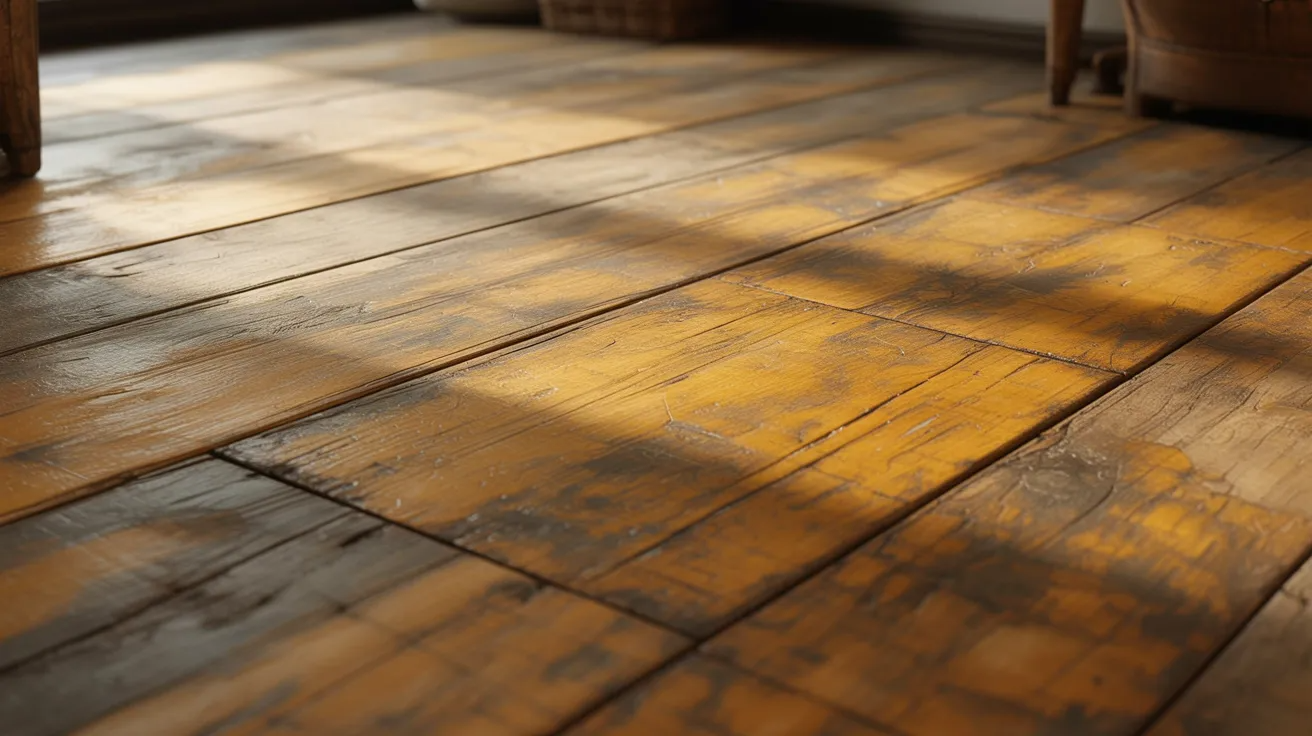
Knowing the cause helps you pick a fix that actually holds.
Seasonal shrinkage is the most common reason. Winter heating dries out indoor air. Wood loses moisture, shrinks, and boards pull apart. When summer humidity returns, the wood swells and gaps close again. These gaps are normal and need a flexible repair method, not hard filler.
Permanent moisture loss happens when wood dries out for good after prolonged low humidity or heat damage. These gaps stay open year-round and need filling.
Poor installation causes gaps that appear shortly after the floor is laid. The boards were not fitted tightly or the wood was not given time to adjust before installation. These are permanent from day one.
Subfloor or structural problems show up alongside warping, cupping, or loose boards. Get a professional assessment before attempting any surface repair in these cases.
How to Tell What Kind of Gap You Have
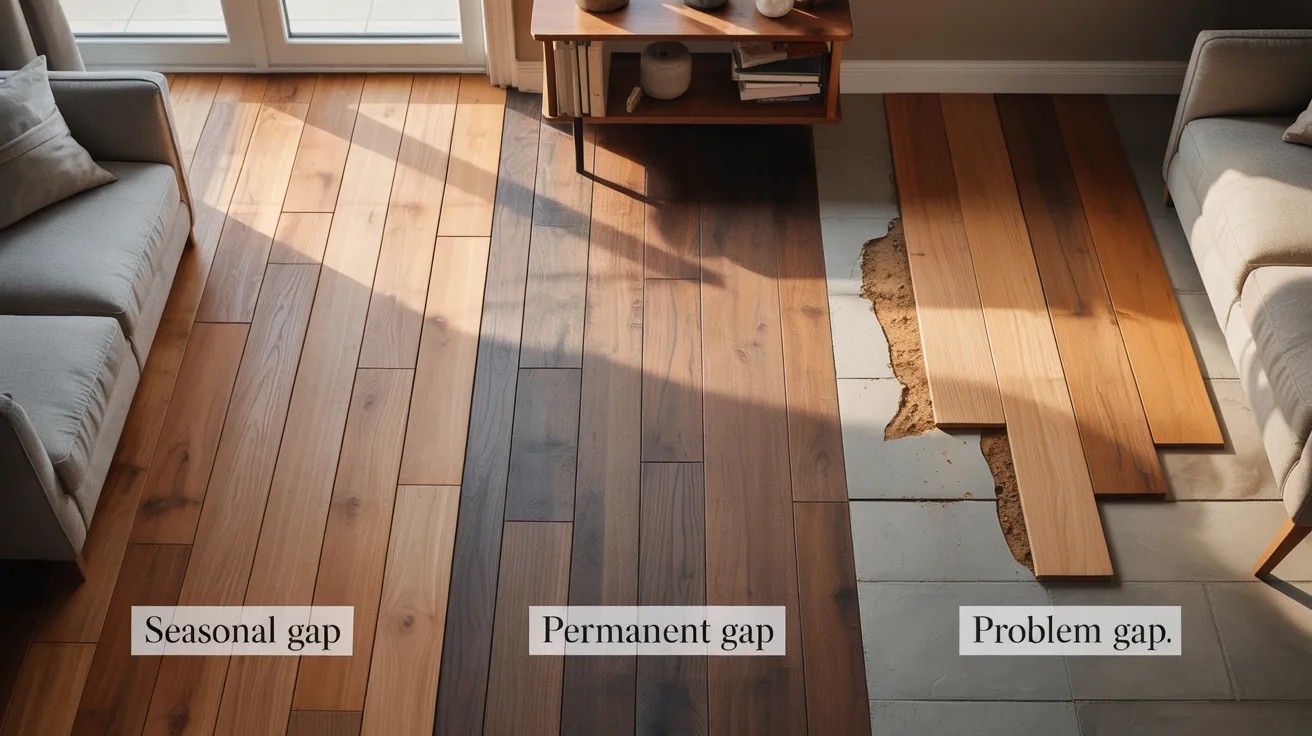
Identifying whether you have a seasonal, permanent, or problem gap helps you choose the right repair method and avoid causing further damage to your hardwood floor.
Seasonal gap:Opens in winter, closes in summer, under 3mm wide, consistent across the floor.
Permanent gap: Stays open year-round, does not change with seasons, may vary in width.
Problem gap: Comes with loose boards, drafts, cupping, or visible moisture damage.
Match your repair method to your gap type. This is the most important step.
DIY Methods to Fix Gaps in Hardwood Floors
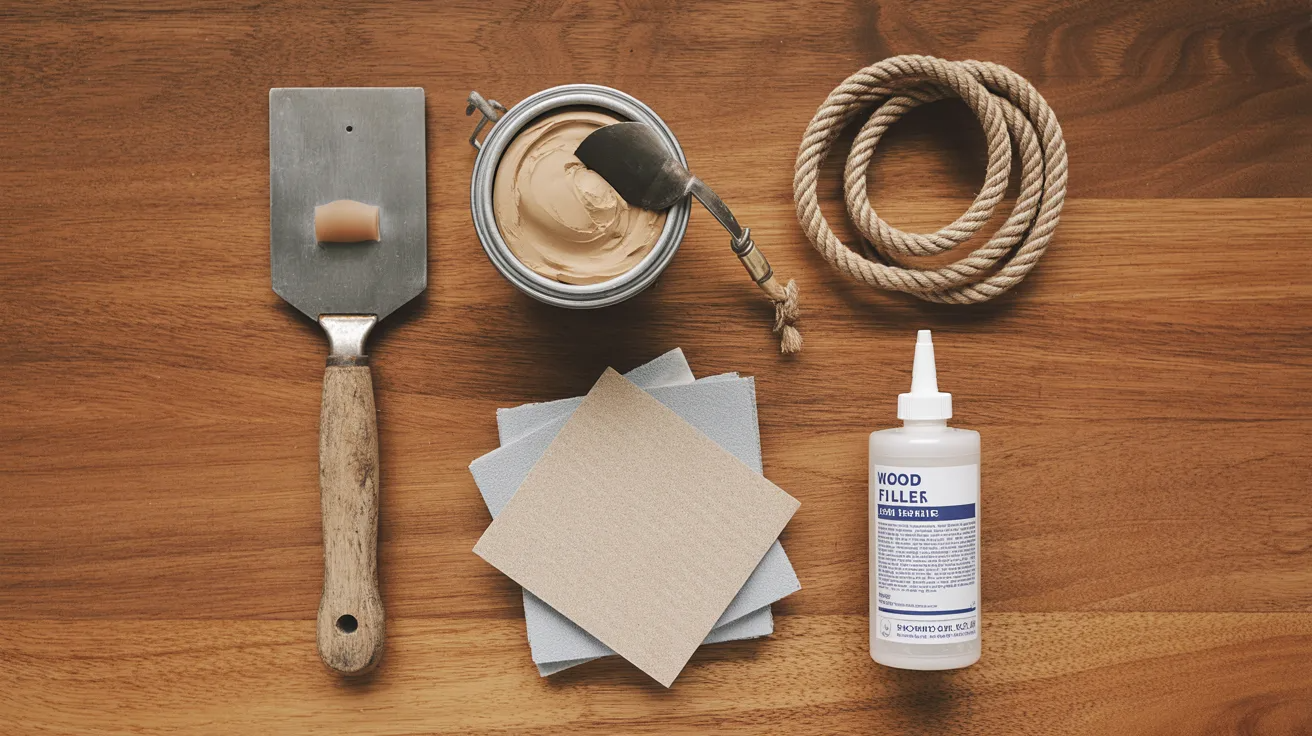
Method 1: Wood Filler for Small Gaps
Best for: Permanent gaps under 3mm in stable indoor environments.
Not suitable for: Seasonal gaps that open and close.
Wood filler is the quickest fix for small permanent gaps. Press it in, smooth it off, let it dry, sand it flush. Simple.
The downside is that rigid filler cracks when the floor moves. Use this only on gaps that stay open year-round.
What to buy: Timbermate Wood Filler, Bona Mix and Fill, or Elmer's Carpenter's Wood Filler.
Cost: $10 to $25 per tub.
Method 2: Flexible Rope for Seasonal Gaps
Best for: Seasonal gaps, pine floors, older floors that still move with humidity.
Not suitable for: Gaps under 2mm or over 8mm.
This is the right method for floors that still move. Cotton rope or purpose-made floor gap rope is pressed into the gap.
It compresses when the wood expands and opens slightly when it contracts. It moves with the floor instead of cracking against it.
What to buy: Draughtex Floor Gap Filler or natural cotton piping cord from a fabric or hardware store.
Cost: $15 to $35 depending on room size.
How to apply:
- Clean the gap fully with a vacuum and thin brush.
- Choose rope slightly wider than the gap for a snug fit.
- Press it in with a putty knife or blunt chisel along the full length.
- Trim flush at the ends with a craft knife.
- Apply a thin coat of floor wax on top if you want a cleaner finish.
Method 3: Sawdust and Glue Mix for Refinishing Jobs
Best for: Floors being sanded and refinished at the same time.
Not suitable for: Seasonal gaps or floors not being sanded.
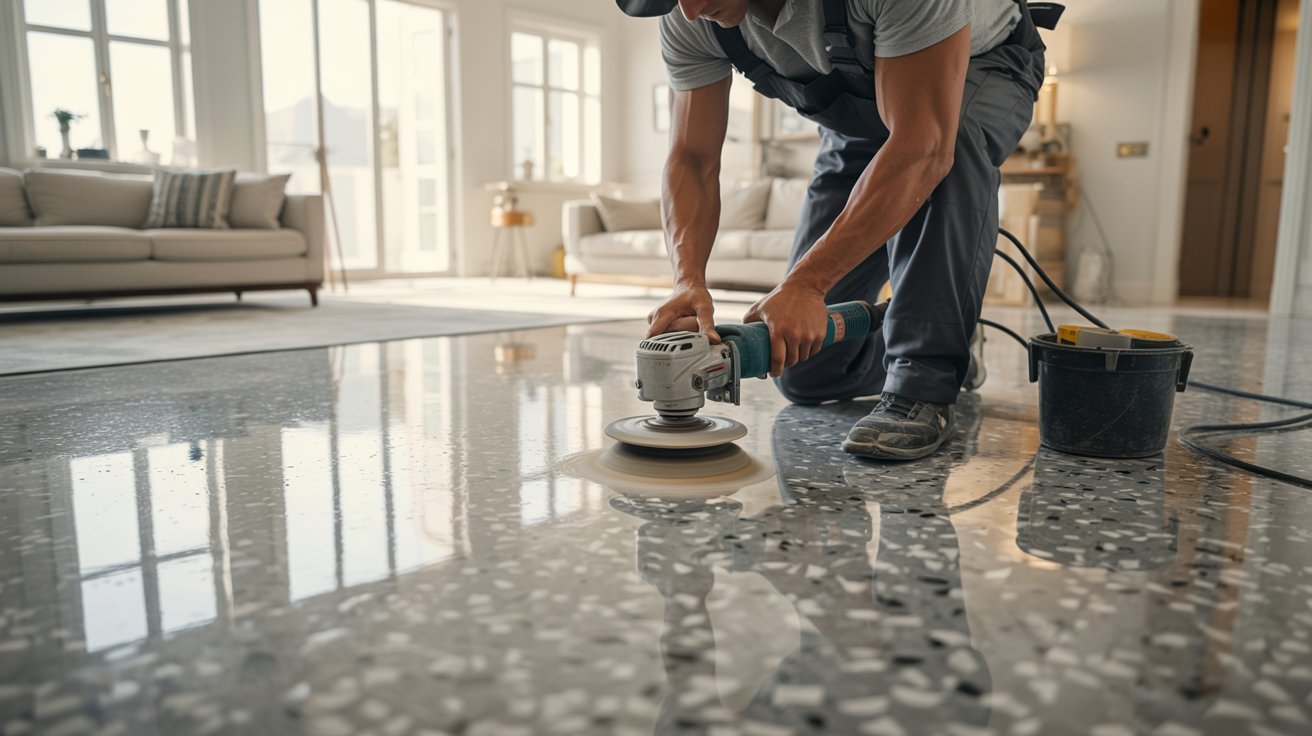
Mix fine sawdust collected during floor sanding with PVA wood glue to make a paste. Because it uses dust from your actual floor, the color match is nearly perfect once the finish goes on top.
How to apply:
- Sand the floor first and collect the fine dust.
- Mix dust with PVA glue until you get a thick paste.
- Press firmly into gaps with a putty knife.
- Let dry for 4 to 6 hours.
- Sand flush and apply your floor finish.
Cost: Nearly free if you are already refinishing.
Method 4: Wood Slivers for Larger Gaps
Best for: Permanent gaps between 5mm and 12mm.
Not suitable for: Seasonal gaps or gaps wider than 12mm.
Cut a thin strip of matching timber to fit the gap. Glue it in, let it set, sand it flush. More durable than filler for wider gaps and nearly invisible when done well.
What you need: Matching timber strip, wood glue, clamps, sandpaper (80 and 120 grit), matching floor finish.
How to apply:
- Measure the gap carefully at its widest point.
- Cut your timber strip slightly thicker than the gap.
- Test the fit dry first. It should go in with firm hand pressure.
- Apply glue to both sides of the sliver and press in firmly.
- Clamp or weigh it and leave for at least 12 hours.
- Plane or sand down to floor level, then finish with 120 grit.
- Apply stain and floor finish to match.
Cost: $20 to $60 depending on timber and tools.
Method 5: Replacing a Damaged Board
Best for: Boards that are cracked, warped, or beyond surface repair.
Not suitable for: Large areas or gaps caused by movement alone.
If one or two boards are the problem, replacing them is more cost-effective than repeated repairs.
You remove the damaged board, cut a new one to match, and fit it in. This needs a circular saw and chisel, so only attempt it if you are comfortable with basic tools.
Cost: $50 to $150 for materials.
Common DIY Mistakes to Avoid
Avoid these common repair mistakes to keep your hardwood floor fixes durable, smooth, and long-lasting.
- Using rigid filler on a seasonal floor. Hard filler in a moving floor cracks within one season. Always match the repair method to the gap type.
- Skipping the cleaning step. Filler and glue will not bond to a dusty gap. Clean it out fully before applying anything.
- Overfilling. Packing a gap too tightly leaves no room for expansion. Boards can buckle in summer if there is nowhere for the wood to go.
- Wrong color match. Test filler on a hidden spot first. Many products dry darker or lighter than they look in the tub.
- Rushing the dry time. Walking on a fresh repair before it cures causes it to compress and crack. Follow the product instructions exactly.
- Ignoring the root cause. If moisture or subfloor problems caused the gap, surface repairs will not hold. Fix the cause first.
Should You Fill Every Gap?
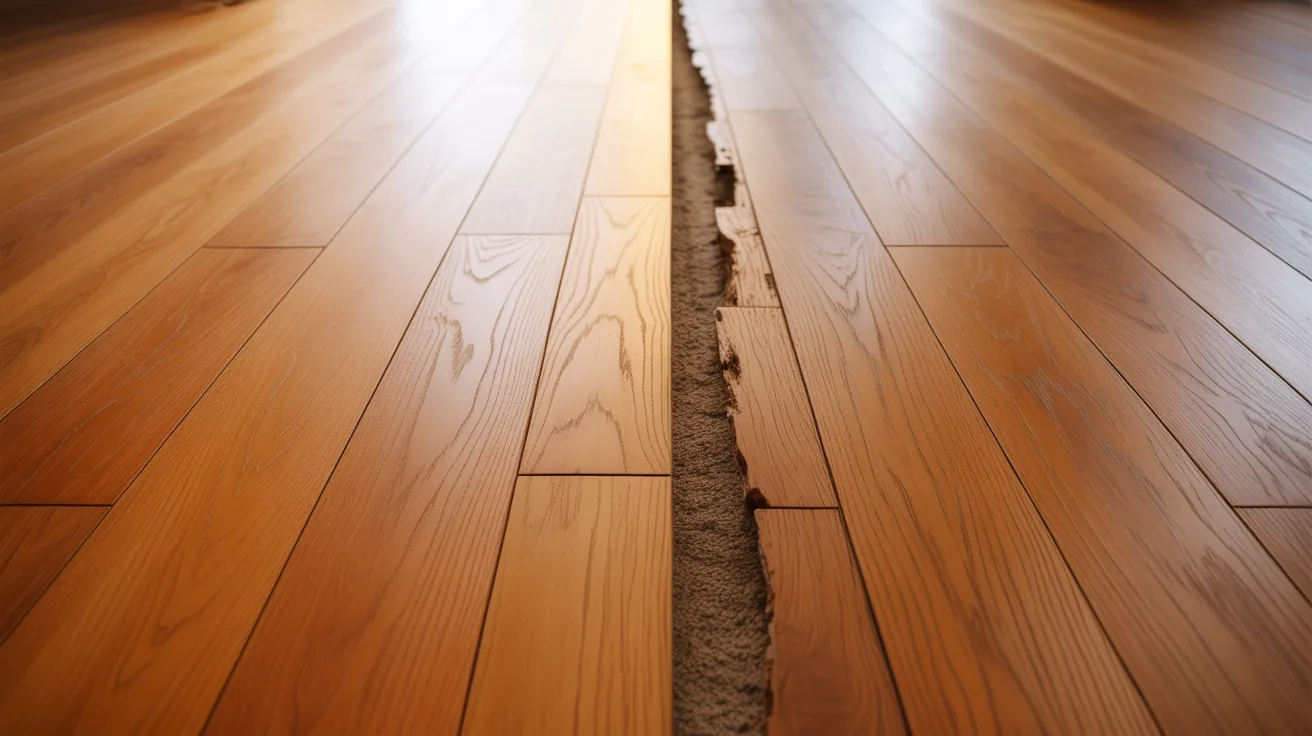
No. Small seasonal gaps that close in summer are best left alone. Filling them with hard filler and then watching the wood expand in spring causes more damage than the gap itself.
Leave gaps alone if they are under 2mm, seasonal, and not causing drafts or loose boards.
Fill gaps if they are permanent, wider than 3mm, letting in cold air, or affecting how the floor feels underfoot.
How to Prevent Gaps Coming Back
Maintain Proper Indoor Humidity
Keep indoor humidity between 35% and 55% throughout the year. Using a hygrometer helps you monitor moisture levels and prevent seasonal floor gaps.
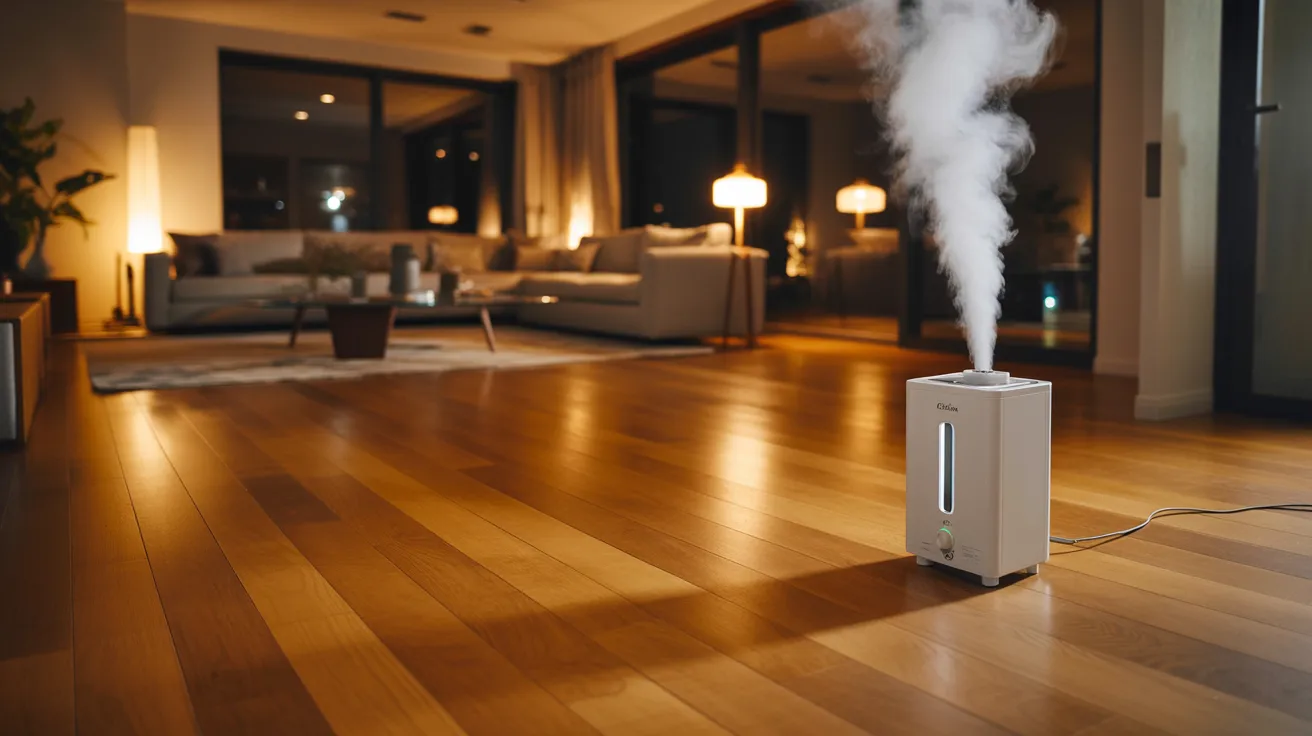
Use a Humidifier During Winter
Heating systems dry out indoor air quickly during colder months. Running a humidifier helps reduce wood shrinkage and keeps floorboards more stable.
Fix Leaks and Moisture Problems Early
Moisture coming from below the floor can cause serious movement and damage. Address leaks and damp areas as soon as possible to prevent long-term issues.
Avoid Excess Heat Exposure
Portable heaters, direct sunlight, and rugs placed over heated floors can dry out hardwood faster than normal and increase the chances of gaps forming.
When to Call a Professional
DIY works well for surface repairs.
But call a professional if:
- Boards are buckling, lifting, or cupping alongside the gaps
- You feel cold drafts through multiple floor areas
- Gaps appeared after a water leak or flood
- The repair area is very large and needs consistent color matching
- Gaps keep returning despite repeated repairs
- The subfloor feels soft or uneven underfoot
These are signs of deeper problems. Surface repairs will not hold until the cause is fixed properly.
Conclusion
Gaps in hardwood floors are fixable. Most of the time you can handle it yourself with basic tools and the right materials. Use flexible rope for seasonal gaps, wood filler for small permanent ones, and wood slivers for anything wider.
Clean the gap well, pick the right product, and let everything cure before walking on it. Done right, a DIY repair can last for years.
If this guide helped, share it with someone dealing with the same problem. Drop any questions in the comments and I will help you figure out the best fix for your floor.
Frequently Asked Questions
Does filling gaps in hardwood floors actually work?
Yes, filling gaps works well when you use the right method for the right gap type. Wood filler suits small permanent gaps, while flexible rope works better for floors that still move with the seasons.
What is the best product to fill gaps in hardwood floors?
For small permanent gaps, Timbermate or Bona Mix and Fill are solid choices. For seasonal gaps in older floors, a flexible gap filling rope like Draughtex holds up far better than any rigid filler.
How do I stop gaps in hardwood floors from coming back?
Keep your indoor humidity between 35% and 55% year-round using a humidifier in winter and a hygrometer to monitor levels. Stable humidity is the single most effective way to reduce how much your floor shrinks and gaps.
Are gaps in hardwood floors a sign of serious damage?
Small gaps that open in winter and close in summer are normal wood movement and not a cause for concern. If gaps come with loose boards, buckling, or drafts coming through the floor, that is worth investigating further.
Can I fix gaps in hardwood floors without sanding the whole floor?
Yes, most gap repairs do not require sanding the entire floor. Wood filler, flexible rope, and wood slivers can all be applied to individual gaps without touching the rest of the floor surface.