
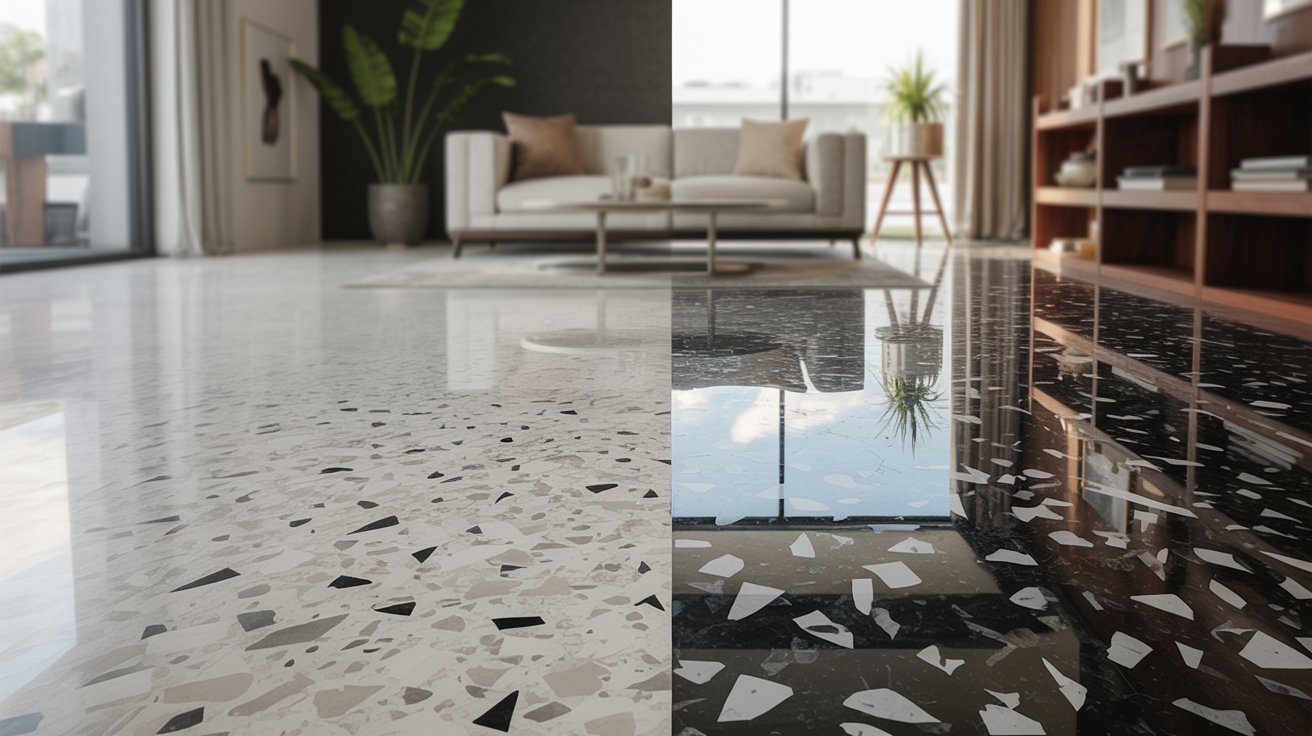
Terrazzo floors are built to last, but years of wear can leave them looking dull, cracked, or stained.
I've seen how the right restoration process can bring these floors back to life, and I want to help you do the same.
In this guide, I'll walk you through terrazzo floor restoration from start to finish, covering everything from tools and materials to grinding, polishing, and sealing.
I'll also help you decide between DIY and professional help, and share tips to keep your floors looking great long-term. You're in the right place.
Let's get started.
What Is Terrazzo Floor Restoration?
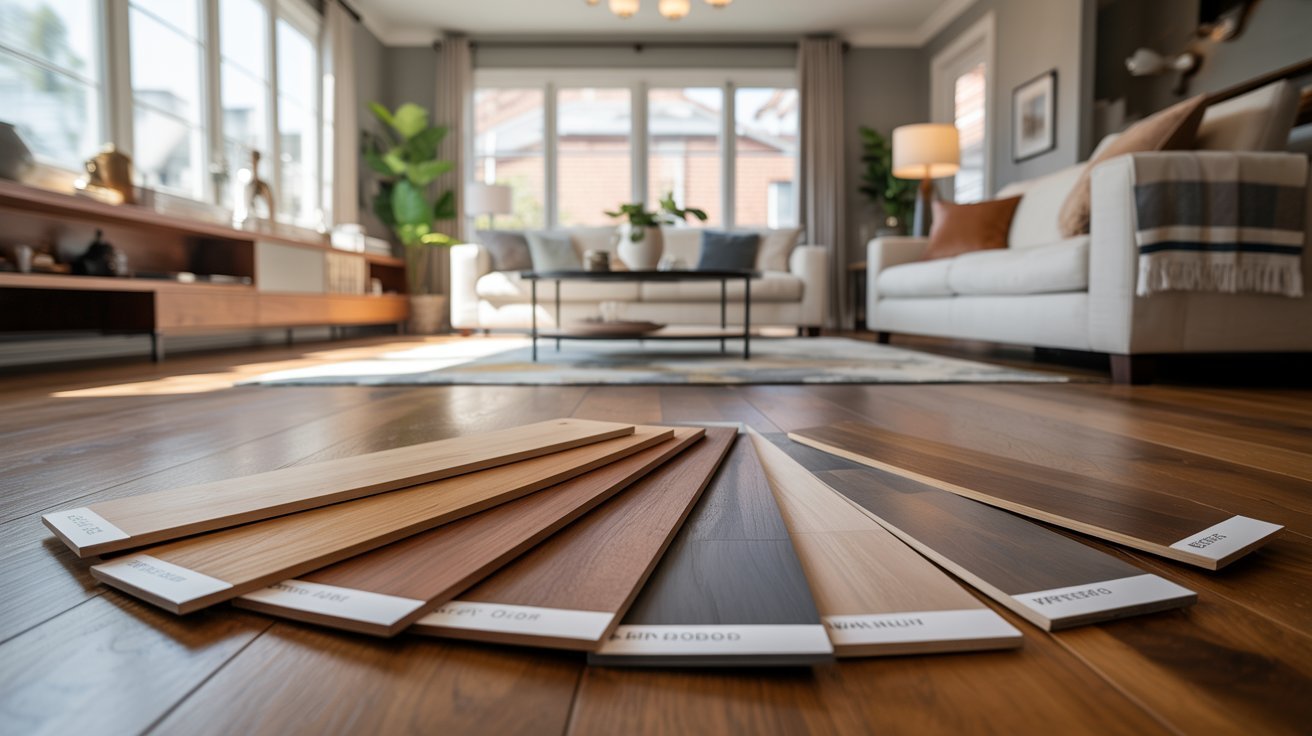
Terrazzo floor restoration is the process of bringing worn, damaged, or stained terrazzo back to its original condition. Terrazzo is made from chips of marble, glass, or stone set in cement or epoxy.
Restoration goes beyond basic cleaning. It involves grinding down the top layer to remove scratches and damage, repairing cracks and chips with epoxy filler, polishing the surface to bring back its shine, and sealing it to protect against future wear.
This is different from just mopping or buffing. A proper restoration addresses the floor at a structural level, not just on the surface.
Terrazzo restoration works on both cement-based and epoxy-based terrazzo, though the process and materials can vary slightly depending on the type. Knowing which type you have before you start makes a big difference in the outcome.
Tools and Materials Needed for Terrazzo Floor Restoration
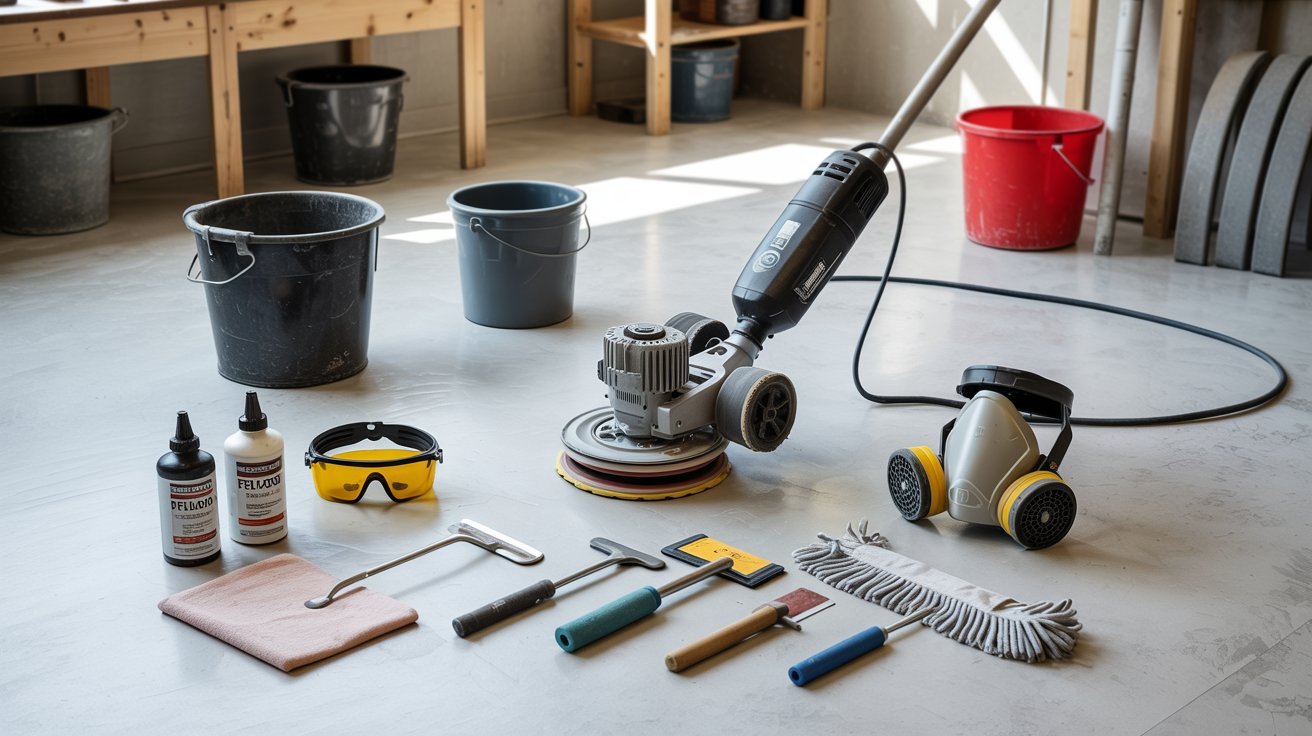
Having the right tools before you start saves time and prevents costly mistakes.
Here's what you'll need:
- Planetary or single-disc floor grinder
- Diamond grinding pads in multiple grits (coarse to fine, typically 30 to 3000 grit)
- Hand grinder for edges and corners
- pH-neutral floor cleaner (avoid anything acidic or alkaline)
- Mop, bucket, and scrub brush
- Wet/dry vacuum for slurry removal
- Epoxy filler or cementitious patching compound for cracks and chips
- Color-matched pigment to blend repairs
- Penetrating terrazzo sealer or topical sealer, depending on the floor type
- Safety goggles and dust mask or respirator
- Knee pads for floor-level work
- Ear protection when operating grinders
- Non-slip footwear
Step-by-Step Terrazzo Floor Restoration Process
Restoring terrazzo floors takes more than just cleaning. Follow these steps in order to get a smooth, polished result that lasts.
Step 1: Inspect and Assess the Floor Condition
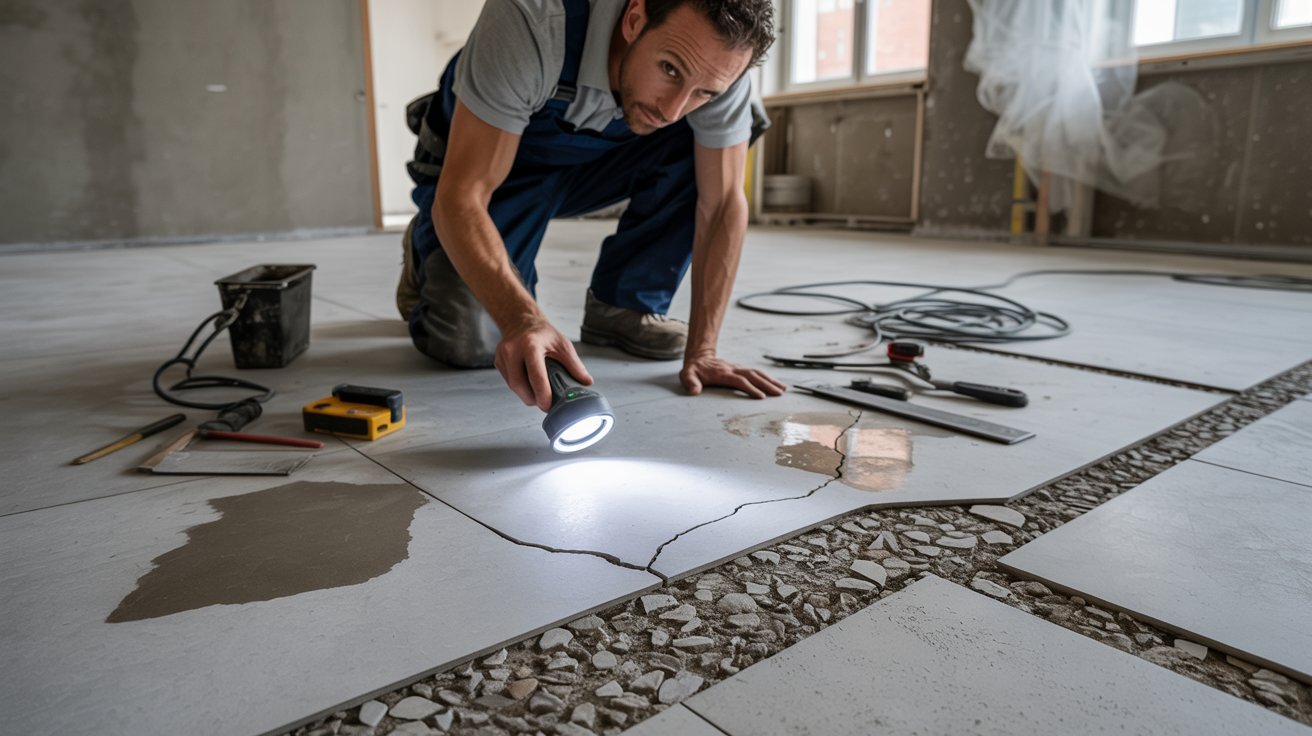
Start by walking the entire floor. Look for cracks, chips, deep scratches, stains, and any areas where the surface feels hollow when tapped.
Note whether the floor has an existing coating or wax layer. This inspection tells you how much grinding is needed and which areas require repair before polishing begins.
Step 2: Remove Existing Coatings and Residue
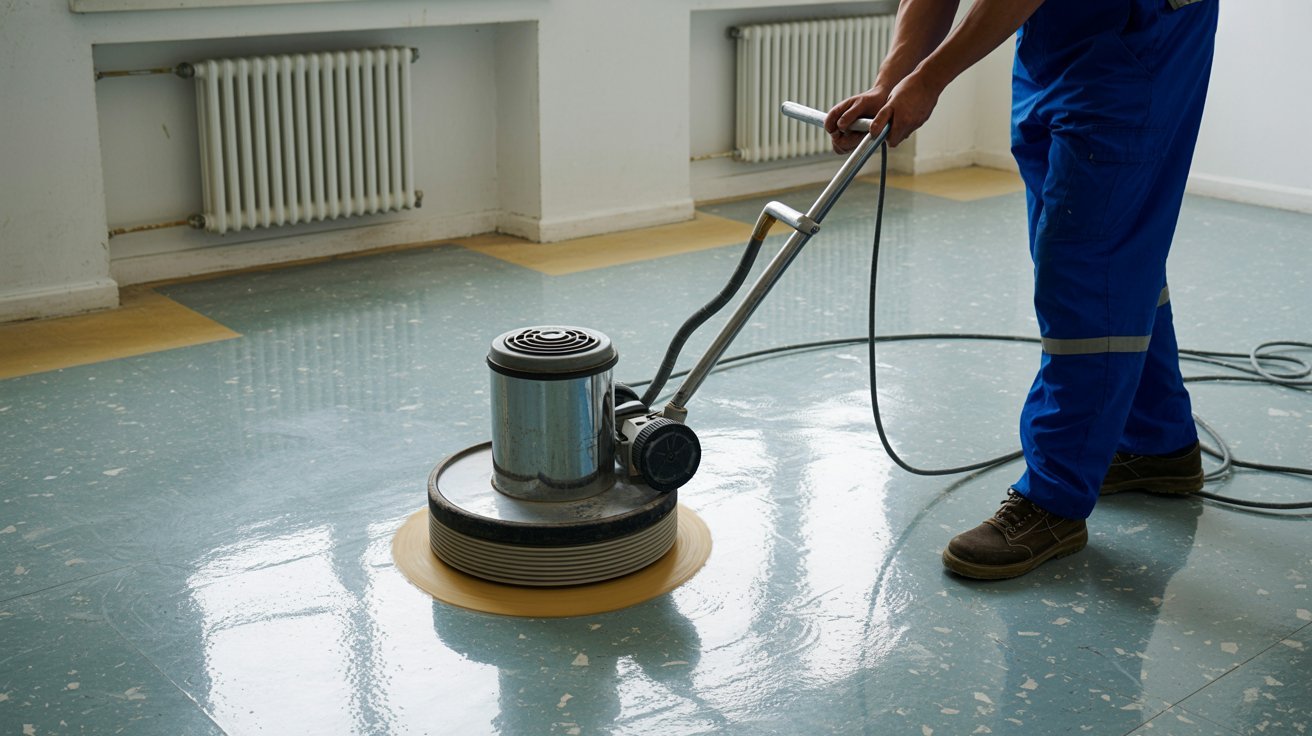
Many terrazzo floors have layers of old wax, paint, or topical coatings that must come off first. Use a chemical stripper designed for terrazzo or start with a coarse diamond pad on the grinder.
Work in sections, removing all residue before moving to the next step. Skipping this leads to uneven grinding results.
Step 3: Repair Cracks, Chips, and Surface Damage

Fill all cracks and chips with an epoxy filler or cementitious repair compound that matches the floor color. Press the filler firmly into the damage and level it with a putty knife.
Allow it to cure completely, following the manufacturer's drying time. Sand it flush with the surrounding surface before grinding.
Step 4: Clean and Prepare the Surface for Grinding
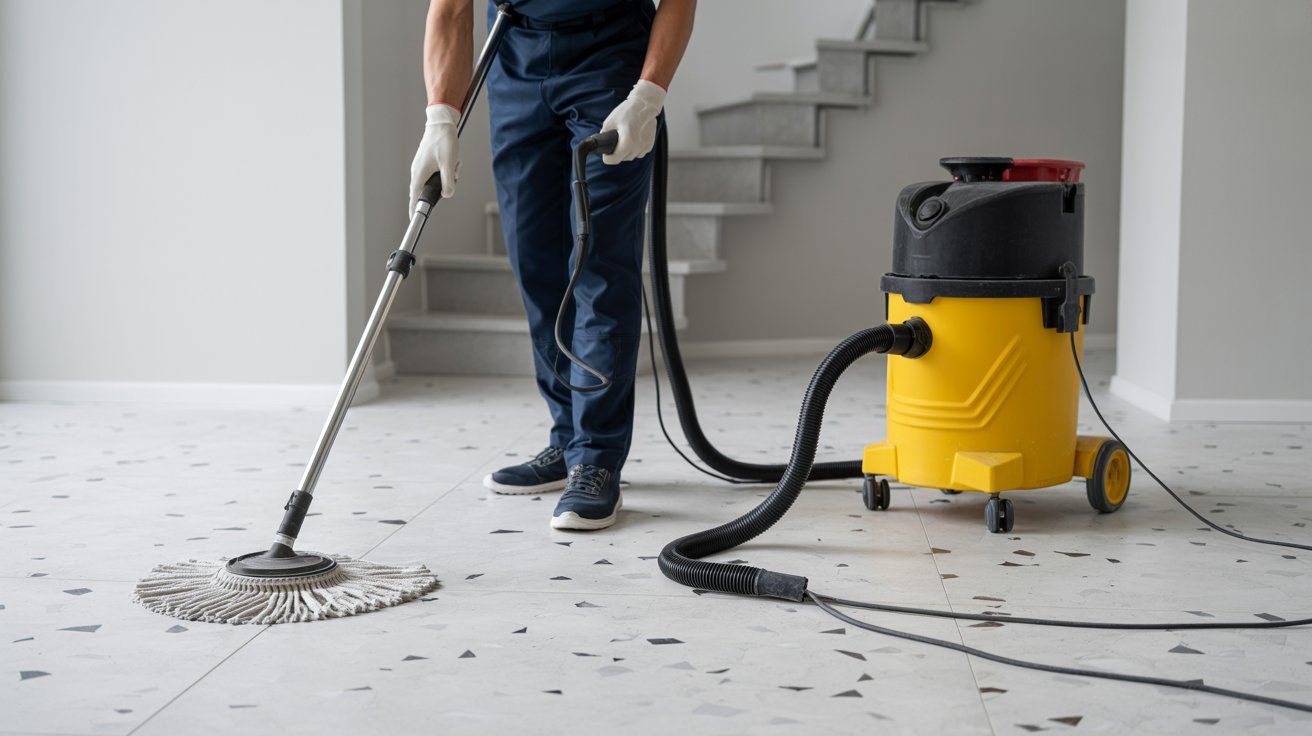
Once repairs are cured, clean the floor with a pH-neutral cleaner to remove dust, debris, and any remaining residue.
A clean surface helps the diamond pads work more effectively and prevents contamination during grinding. Allow the floor to dry fully before starting the grinder.
Step 4: Grind the Terrazzo Surface

Begin grinding with a coarse diamond pad (around 30 to 50 grit) to remove the top damaged layer. Work in overlapping passes across the floor.
Gradually move to medium grits (100 to 400), then finer grits (800 to 1500). Each pass removes the scratches left by the previous grit.
Keep the grinder moving steadily to avoid low spots or burn marks.
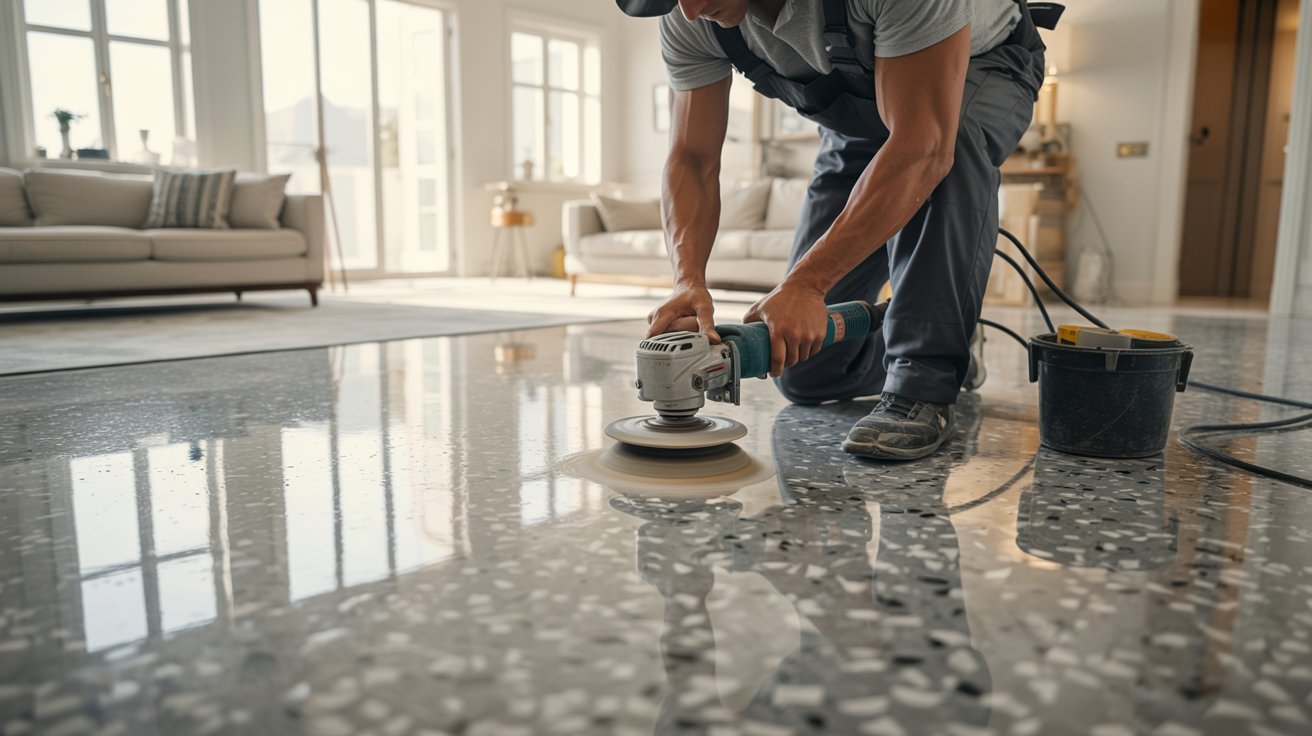
Step 5: Polish the Floor for a Smooth Finish
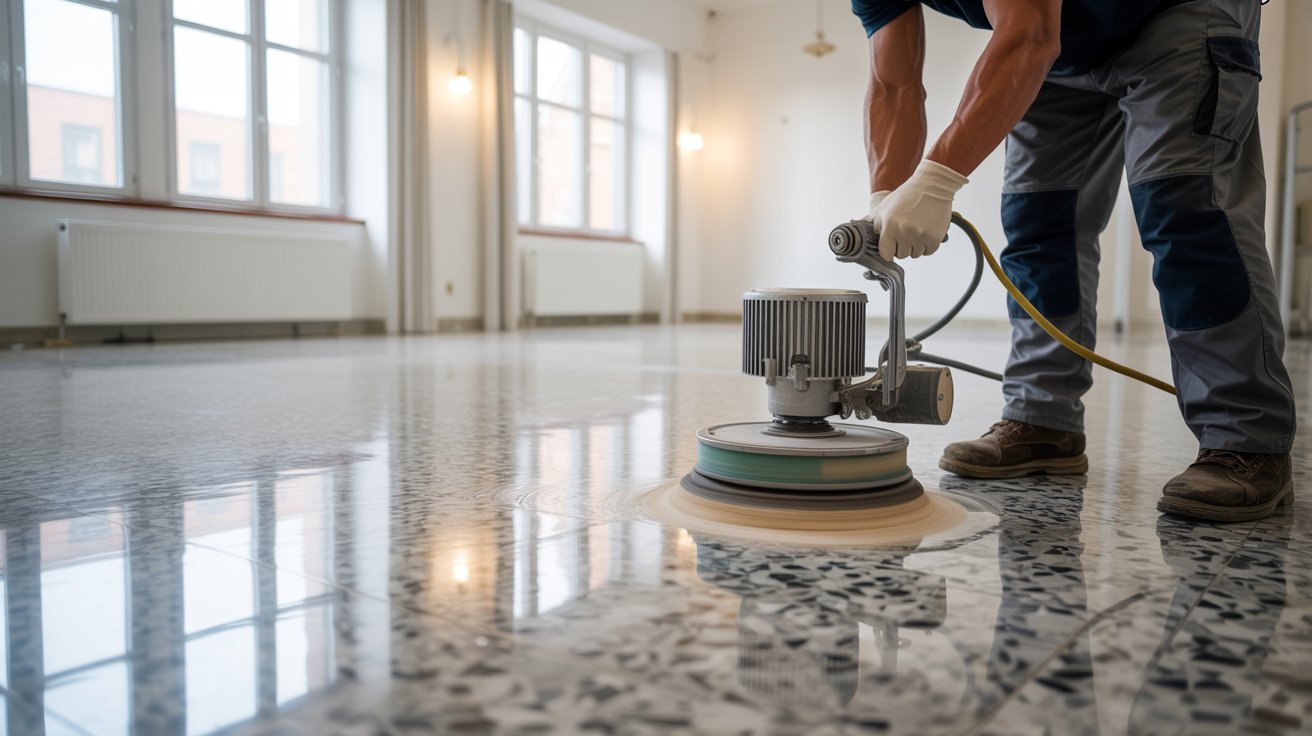
After reaching 1500 grit, switch to polishing pads (2000 to 3000 grit) for the final finish. This is where the terrazzo starts to shine.
Some floors benefit from a crystallization process or a diamond-polishing compound applied during this step. Work slowly and evenly.
The goal is a consistent, reflective surface across the entire floor.
Step 6: Apply Sealer and Floor Finish

Once the floor is polished and clean, apply a terrazzo-compatible sealer. For cement-based terrazzo, use a penetrating sealer that absorbs into the surface.
For epoxy-based terrazzo, a topical sealer works better. Apply in thin, even coats using a clean microfiber applicator. Avoid pooling or overlapping wet edges, which causes streaks.
Step 7: Allow Proper Drying and Curing Time
Follow the sealer manufacturer's instructions for drying time before walking on the floor. Most sealers require 2 to 4 hours between coats and 24 hours before light foot traffic.
Full curing can take 48 to 72 hours. Avoid placing furniture or rugs on the floor until it has fully cured
DIY vs Professional Terrazzo Floor Restoration
Deciding between doing it yourself and hiring a professional depends on the size of the job, the condition of the floor, and your comfort with the equipment.
| Factor | DIY | Professional |
|---|---|---|
| Cost | Lower upfront cost | Higher cost, but includes labor and equipment |
| Equipment | Must rent or buy grinders and pads | Brings professional-grade machinery |
| Skill Level | Suitable for minor restoration on small areas | Recommended for large floors or heavy damage |
| Time | Can take several days for first-timers | Usually completed faster with a trained crew |
| Risk of Damage | Higher risk if incorrect grits are used | Lower risk with experienced technicians |
| Results | Good results possible with care | Consistent, high-quality finish |
| Repair Work | Basic crack filling manageable | Better for deep structural repairs |
| Ideal For | Small rooms, light surface wear | Commercial spaces, heavily damaged floors |
For minor dullness or surface-level wear in a small area, DIY is a reasonable option.
For large floors, deep cracks, or floors with uneven sections, hiring a professional is the safer and more reliable choice.
Common Mistakes to Avoid During Terrazzo Floor Restoration
Avoiding common restoration mistakes helps protect the terrazzo surface, improve results, and extend the life of the floor.
- Using harsh cleaning products: Acidic or alkaline cleaners strip the surface and damage the terrazzo matrix. Always use a pH-neutral cleaner before and after restoration.
- Skipping crack and chip repairs: Grinding over unrepaired damage makes it worse. Always fill and cure all cracks and chips before you start grinding.
- Using incorrect grinding grits: Jumping from a coarse grit to a fine grit too quickly leaves deep scratches that polishing cannot fully remove. Follow the full grit sequence without skipping steps.
- Applying sealer unevenly: Thick or uneven sealer application causes streaks, cloudy patches, and peeling. Apply in thin, consistent coats and allow full drying between layers.
- Rushing the drying and curing process: Walking on or placing items on the floor before the sealer cures leads to marks, scratches, and failed protection. Give the floor the full time it needs.
Maintaining Restored Terrazzo Floors Tips
Proper maintenance keeps restored terrazzo floors shiny, durable, and protected from everyday wear and damage.
- Clean regularly with a pH-neutral cleaner: Avoid vinegar, bleach, or harsh detergents. A gentle daily mop keeps dirt from scratching the surface.
- Place mats at entry points: Dirt and grit tracked in from outside act like sandpaper on polished terrazzo. Door mats reduce the amount that reaches the floor.
- Re-seal the floor every one to two years: Sealer wears down over time. Reapplying it on schedule keeps the surface protected and maintains the shine.
- Deal with spills immediately: Terrazzo, especially cement-based, can absorb liquids if left too long. Wipe up spills as soon as they happen to prevent staining.
- Use felt pads under furniture legs: Hard furniture feet scratch and gouge the surface. Felt pads distribute weight and prevent marks when moving chairs or tables.
Conclusion
I've walked through a lot here, and I hope it gives you a clear picture of what terrazzo floor restoration actually involves. It's not a quick job, but done right, the results are worth every step.
From my own experience, taking time on the repairs and not rushing the grinding sequence makes all the difference.
If your floors are looking worn, this process works. Start small, follow the steps, and don't skip the sealer.
Found this helpful? Drop a comment below or share it with someone dealing with the same flooring situation.
Frequently Asked Questions
How Often Should Terrazzo Floors Be Restored?
Most terrazzo floors need full restoration every 7 to 10 years, depending on foot traffic and maintenance. Regular cleaning and sealing can extend the time between restorations.
Can You Restore Terrazzo Floors Without Grinding?
Light surface dullness can sometimes be improved with polishing alone, but deep scratches, stains, or uneven wear usually require grinding. Grinding removes damage and creates a smooth surface for polishing.
What Is the Best Cleaner for Restored Terrazzo Floors?
A pH-neutral cleaner made for natural stone or terrazzo is the safest option. Harsh chemicals can damage the sealer and reduce the floor's shine over time.
How Long Does Terrazzo Floor Restoration Take?
Small residential floors may take one to three days, while larger or heavily damaged floors can take longer. Drying and curing time for sealers should also be included in the schedule.
Is Terrazzo Floor Restoration Worth It?
Yes, restoring terrazzo is often more affordable than replacing it and helps preserve the floor's original appearance. A restored terrazzo floor can last for decades with proper care.