
Hardwood floors take a beating over time. If yours are looking dull, a screen and recoat might be exactly what they need.
In this blog, I will cover how long a screen and recoat lasts, what affects its lifespan, and simple tips to get the most out of it.
With years of hands-on experience in floor care, I know what works and what does not.
You will also find easy maintenance habits and honest answers to the most common questions homeowners ask.
By the end, you will know exactly what to do and when to do it.
What Is Screen and Recoat Hardwood Floors?
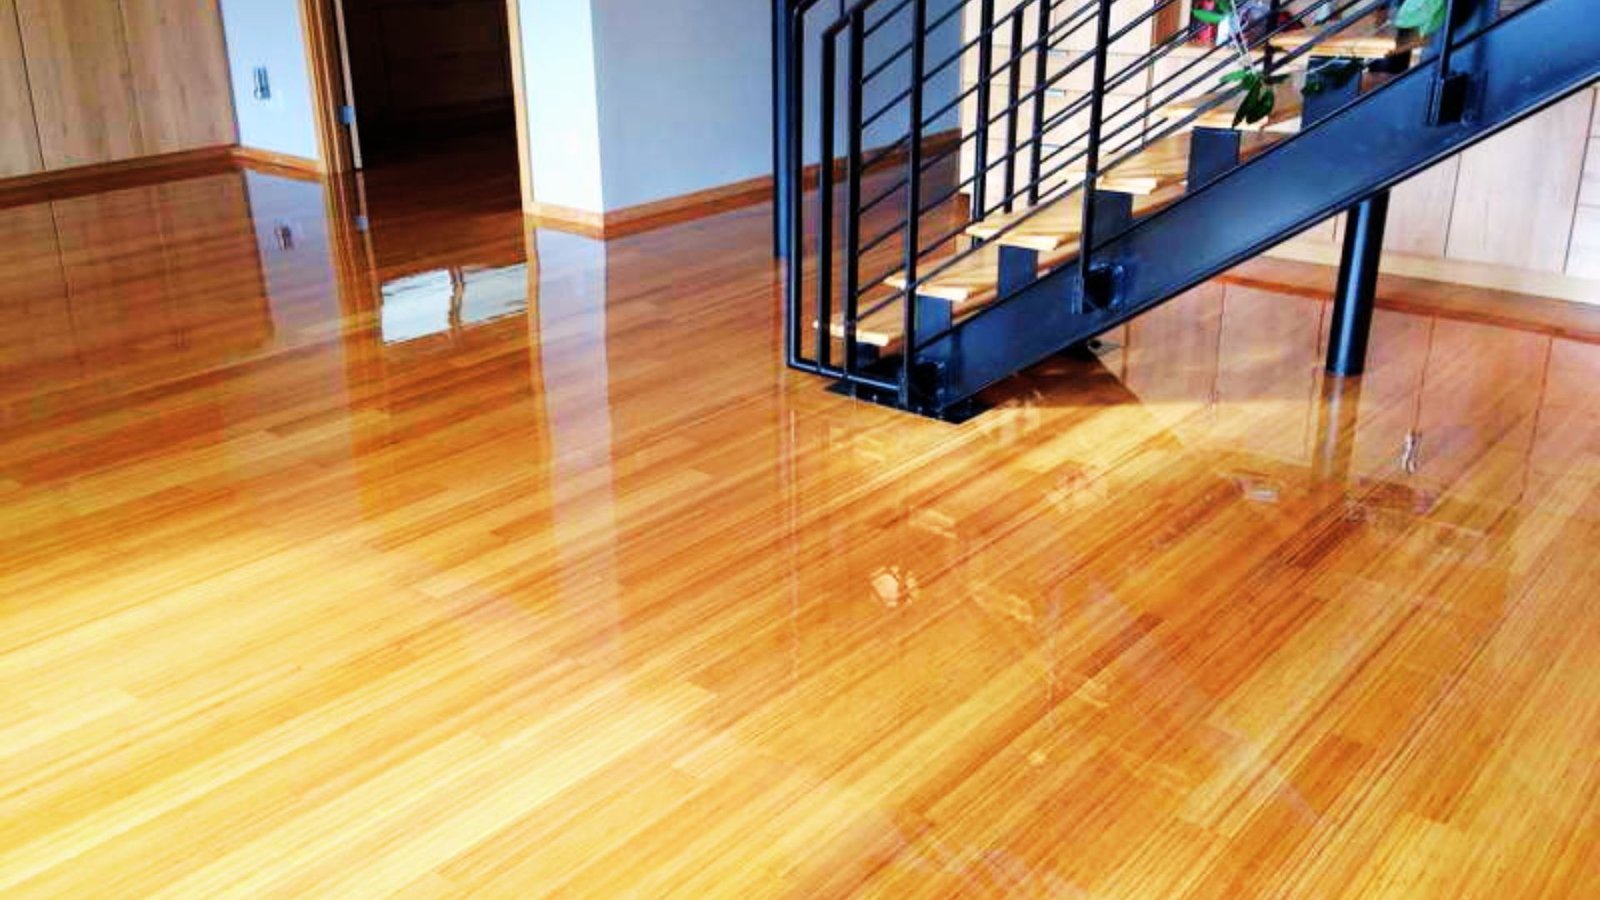
Screen and recoat is a simple floor renewal process that refreshes the top finish layer without sanding down to bare wood.
Screen and recoat is a wood floor maintenance service. It lightly scuffs the floor surface using a buffer pad, then applies a fresh coat of finish on top.
It does not fix deep scratches or stains in the wood. It only refreshes the top coating layer.
This process is faster, cheaper, and less messy than full refinishing. Most homeowners do it every three to five years to keep their floors in good shape.
Signs Your Floors Need Recoating
Knowing when your floors need recoating can save you money and keep your hardwood looking its best.
Scratches and Dull Finish
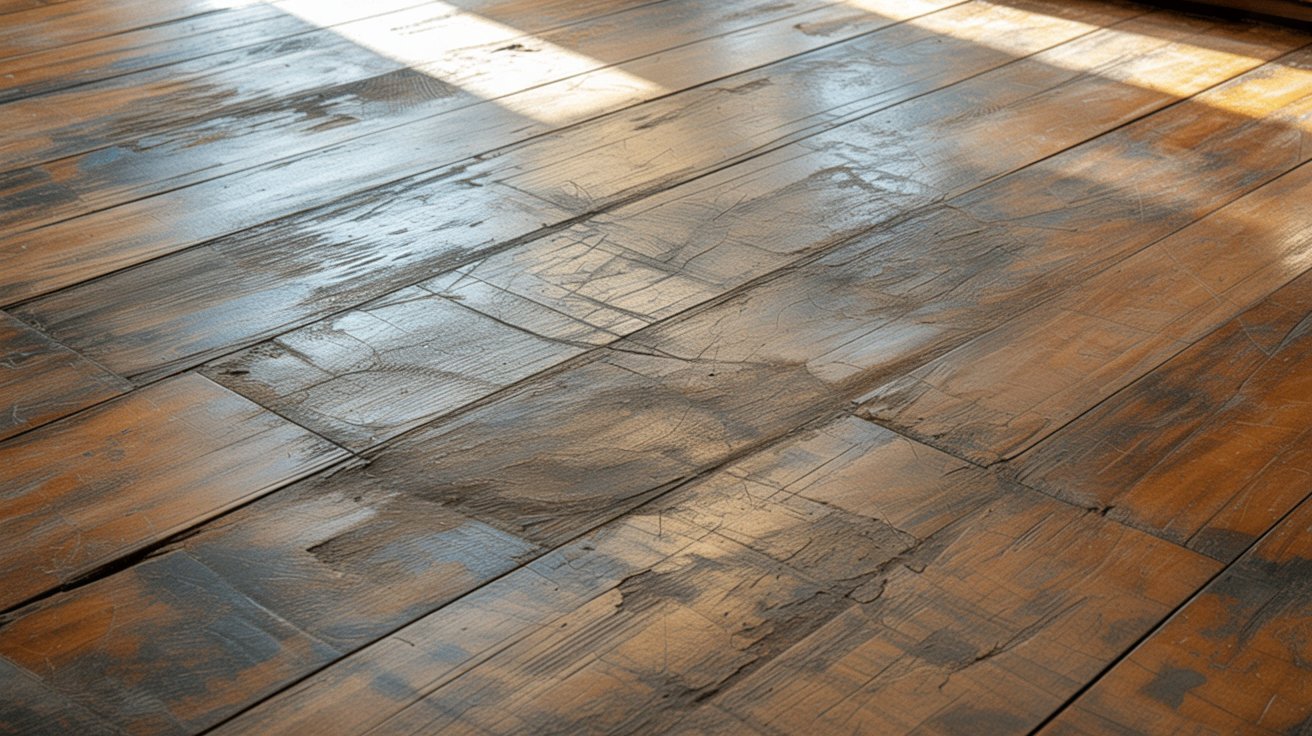
Surface scratches and a fading shine are the most common signs your floors need attention. If you can see scratches in natural light and cleaning no longer brings back the sheen, the finish is wearing out.
When the wood underneath is still in good shape, recoating is a simple and affordable fix.
When Recoating Will Not Work
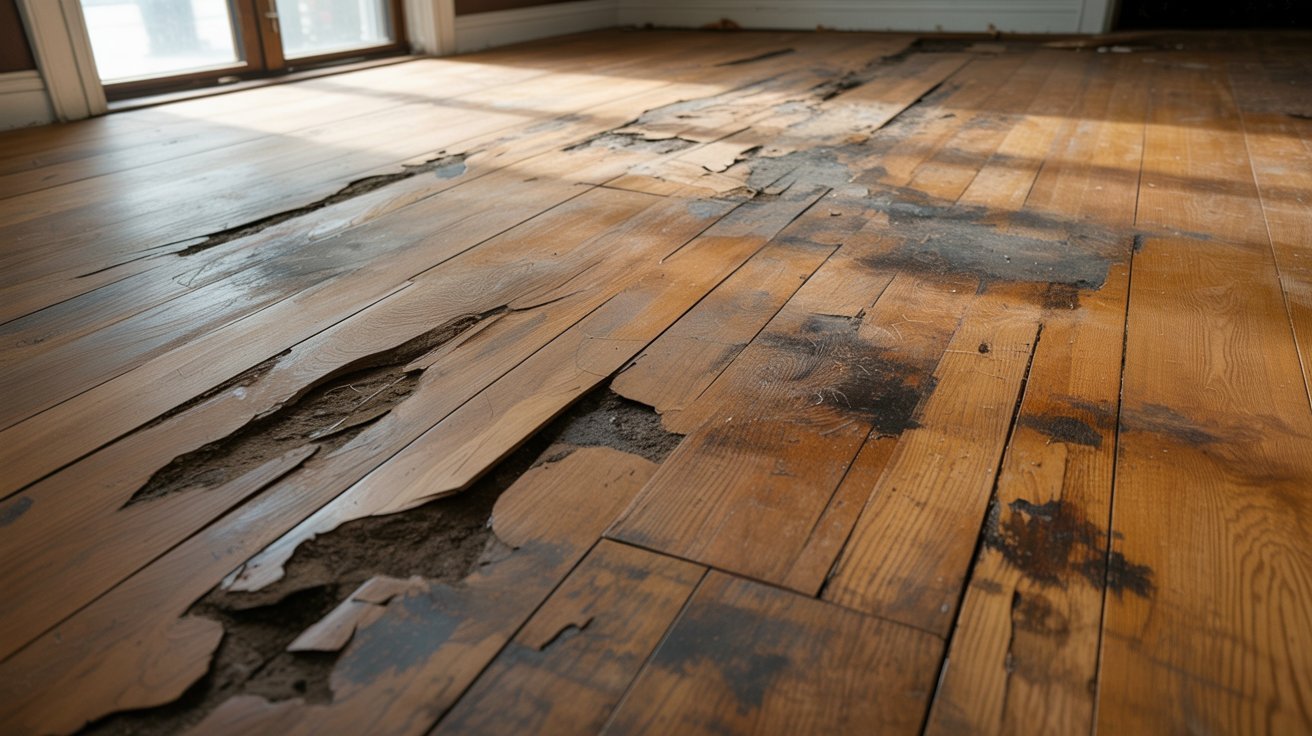
Recoating has its limits and will not hide deep scratches or stubborn stains that have soaked into the wood.
It also will not work if the finish is already peeling or flaking off the surface. In those cases, a full sand and refinish is the right move that gives your floors a proper reset.
Benefits of Screen and Recoat Hardwood Floors
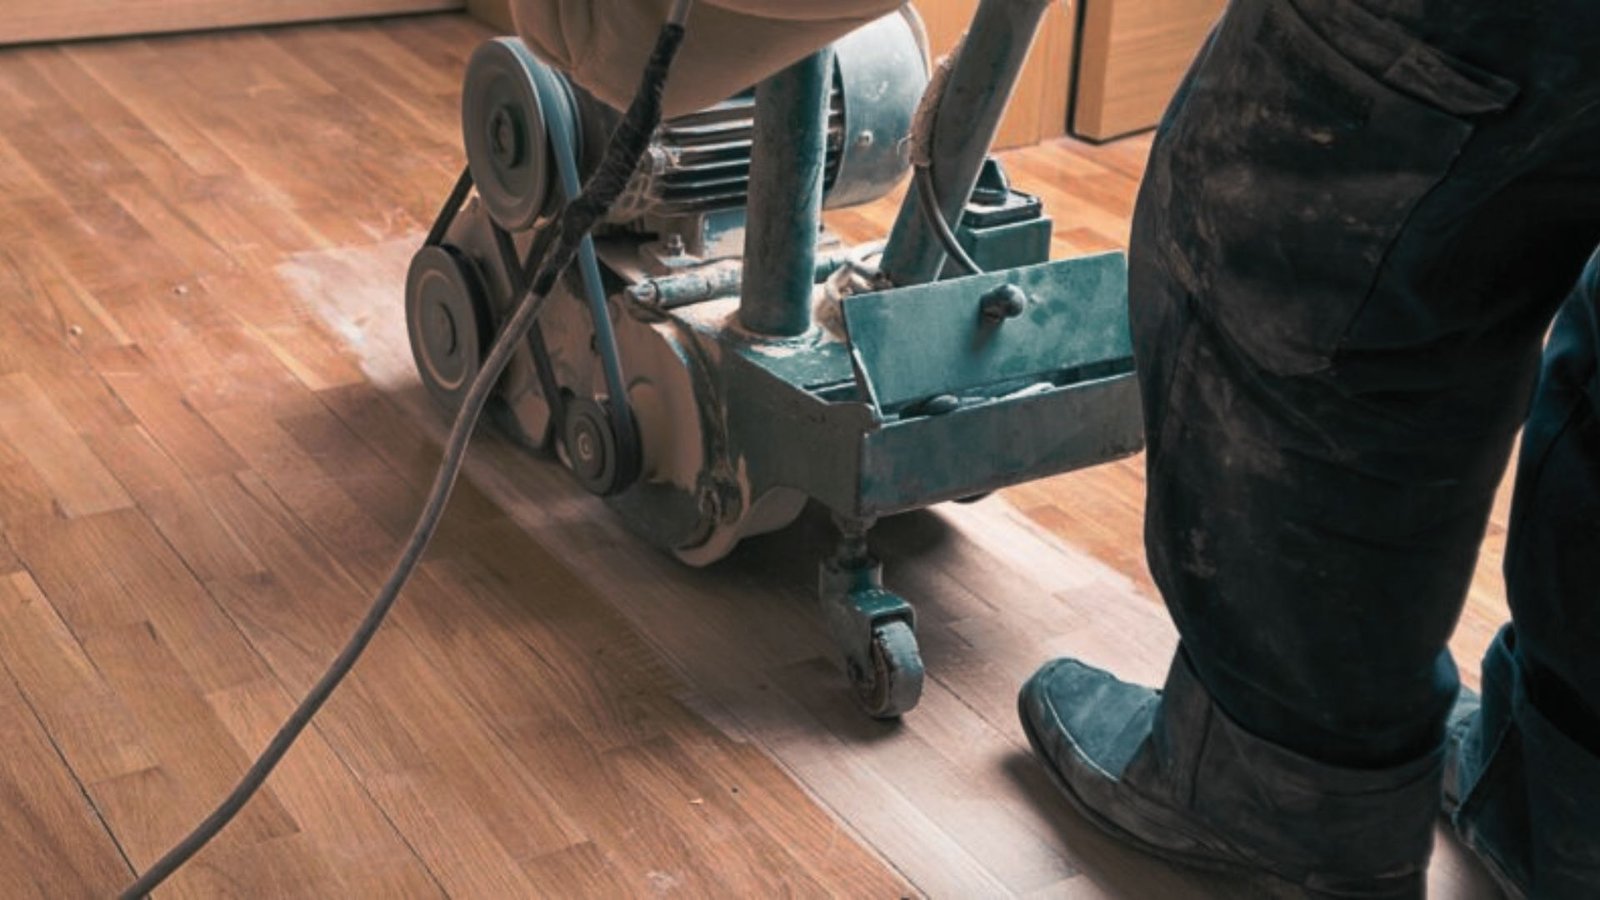
Screen and recoat gives your hardwood floors a fresh look without the cost or mess of a full refinish job.
Lower Cost and Faster Process
Screen and recoat costs far less than a full sand and finish job. You are only scuffing the surface and adding a new coat of finish, not removing layers of wood.
Most jobs wrap up in a single day. You can walk on your floors again within hours, no long wait needed.
Extends Floor Life and Shine
Over time, foot traffic and daily wear leave floors looking dull. A new finish coat acts as a shield, protecting the wood from moisture and further damage.
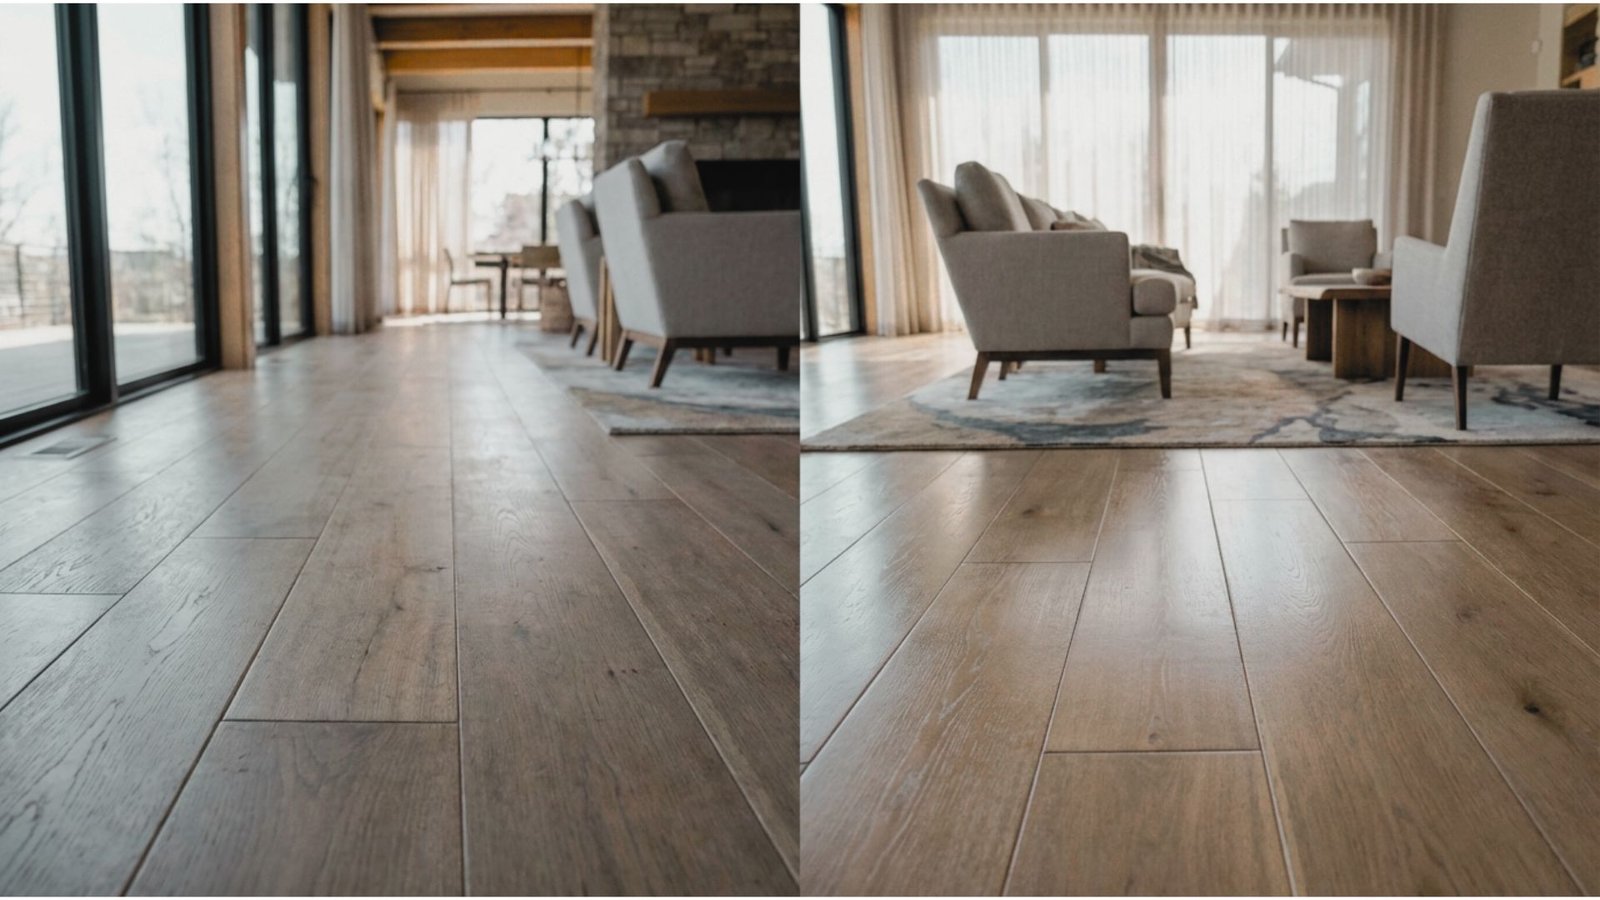
It also brings the shine back. Floors that looked flat and worn can look clean and fresh again. Doing this every few years keeps your floors in good shape for much longer.
Tools Needed for DIY Screen and Recoat Hardwood Floors
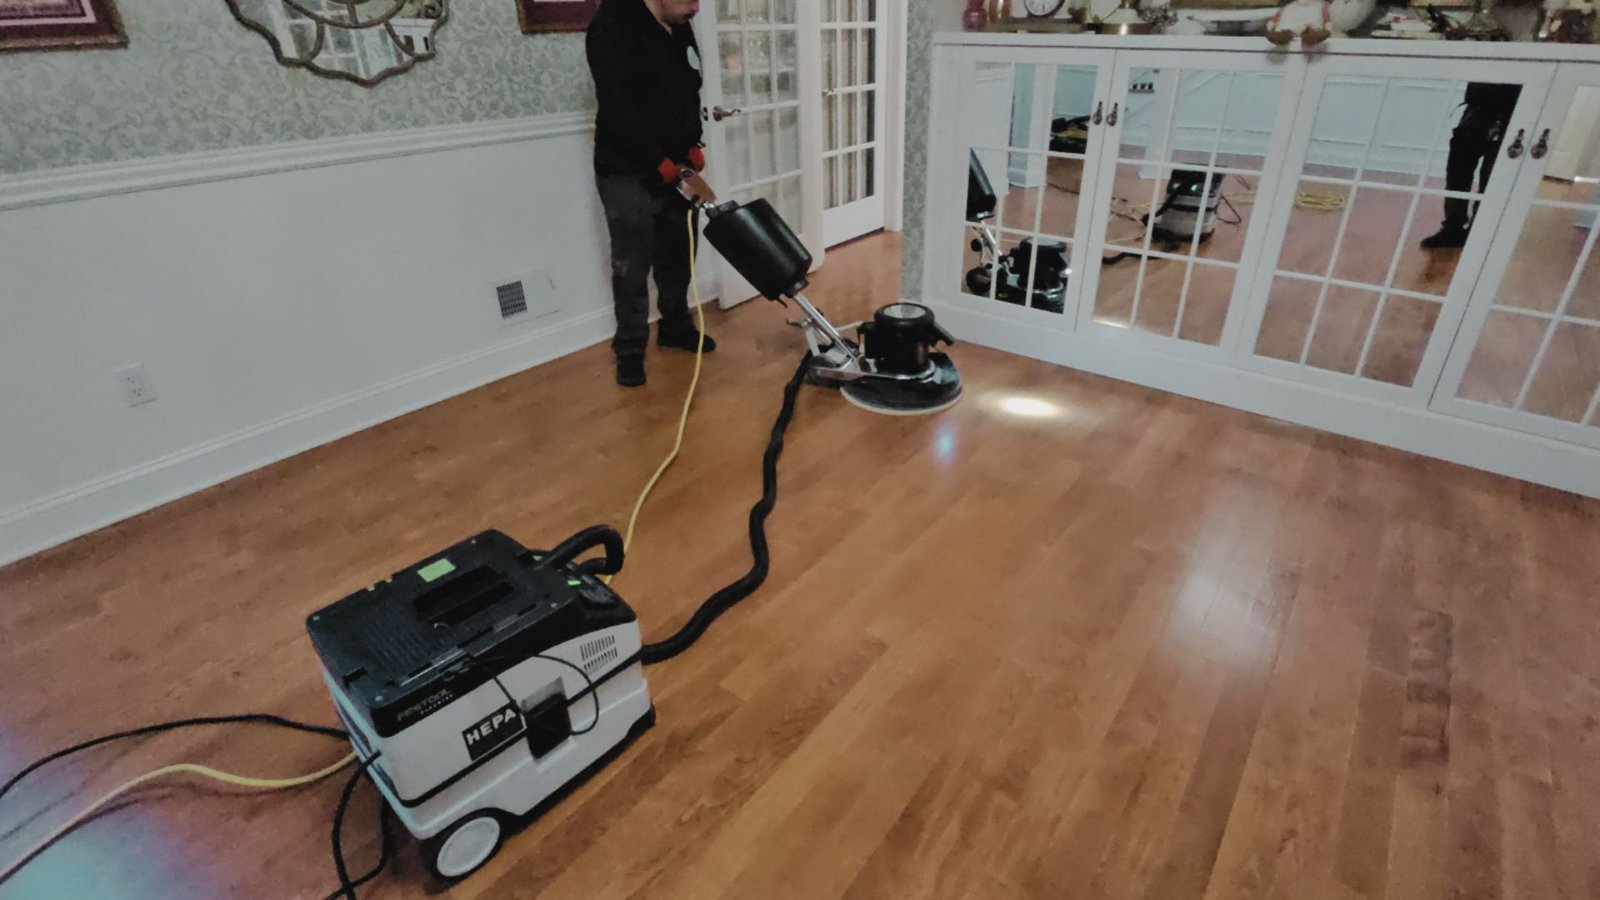
Getting the right tools before you start saves time and helps you get better results.
Buffer, Screens, and Vacuum
A floor buffer is the main tool you need, using a mesh screen to lightly scuff the old finish so the new coat bonds well. A 120 grit screen works best for most floors.
After buffing, vacuum thoroughly and finish with a tack cloth to catch any remaining dust particles.
Best Polyurethane Finishes
Oil based polyurethane lasts long and adds a warm tone, while water based dries faster, stays clear, and has less odor.
Always match the new finish to what is already on your floor, as mixing types can cause peeling. Satin and semi gloss are the most popular sheen choices for home floors.
How to Screen and Recoat Hardwood Floors Step by Step
Screening and recoating hardwood floors brings back their shine without full sanding. This guide walks you through each step clearly.
Step 1: Remove Furniture and Clean the Floor
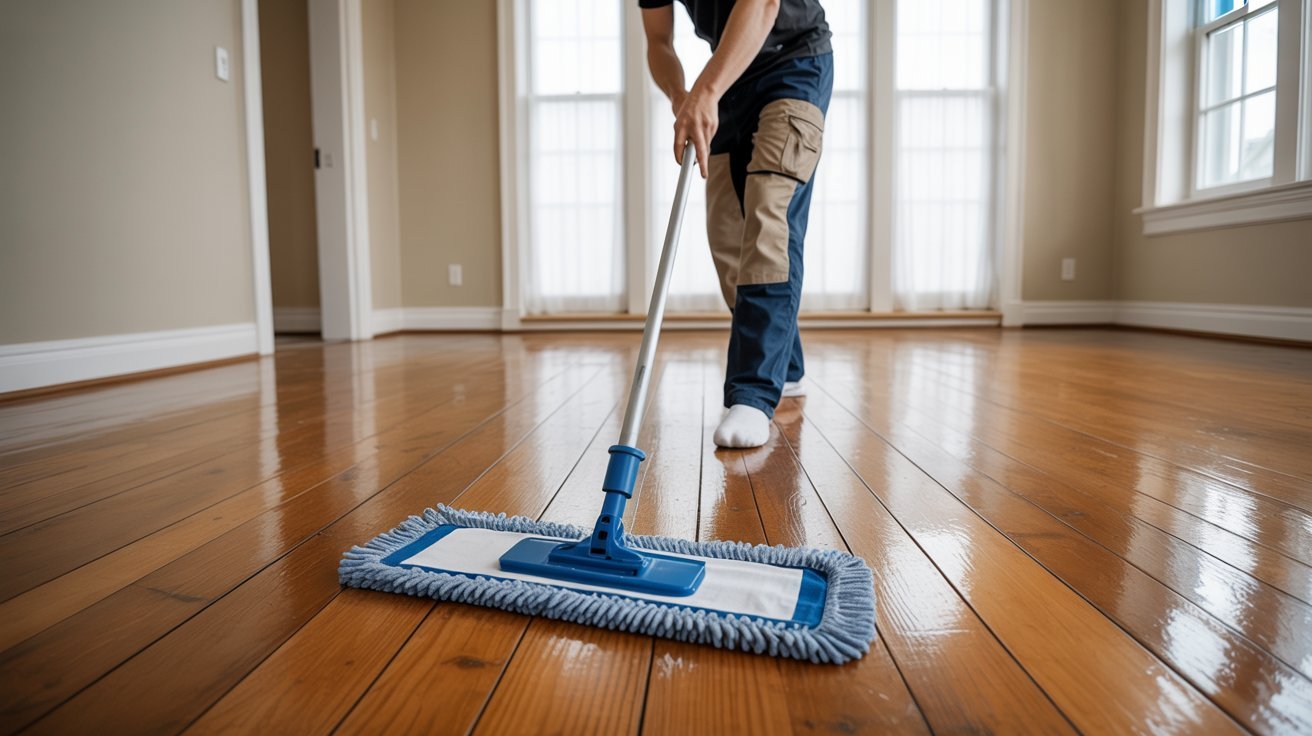
Start by moving all furniture out of the room. Sweep or vacuum the floor well, then mop with a hardwood safe cleaner.
Let it dry fully before moving to the next step. Dirt left on the floor can scratch the surface during screening.
Step 2: Inspect the Floor for Damage

Walk across the floor slowly and check every section. Look for deep scratches, gouges, stains, or peeling boards. Screening works only on floors still in good shape.
Mark any problem spots with tape so you can keep track of them.
Step 3: Screen the Old Polyurethane Finish

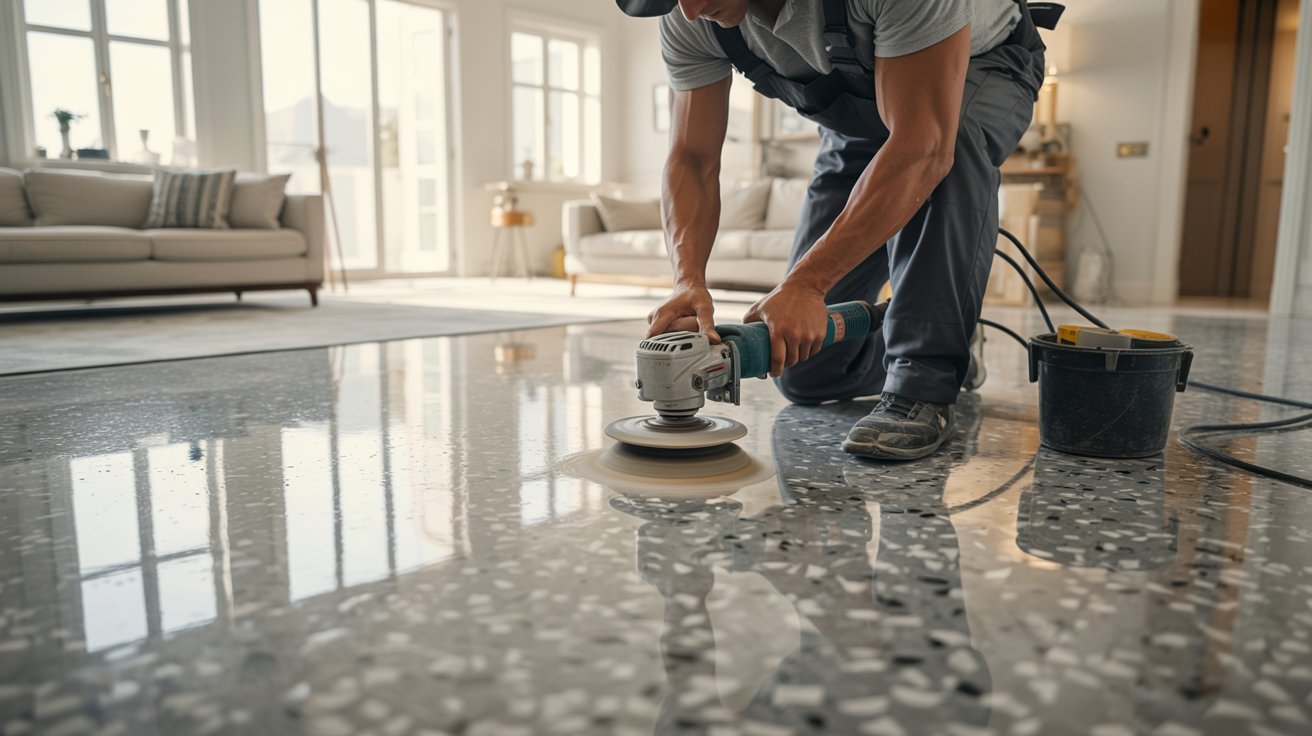
Use a floor buffer with a screening pad and move it in long, even passes with the wood grain. The goal is to dull the surface slightly so the new coat bonds well.
Do not press too hard or stay in one spot too long. Keep the buffer moving at all times to avoid uneven marks.
Step 4: Vacuum and Remove Dust Completely
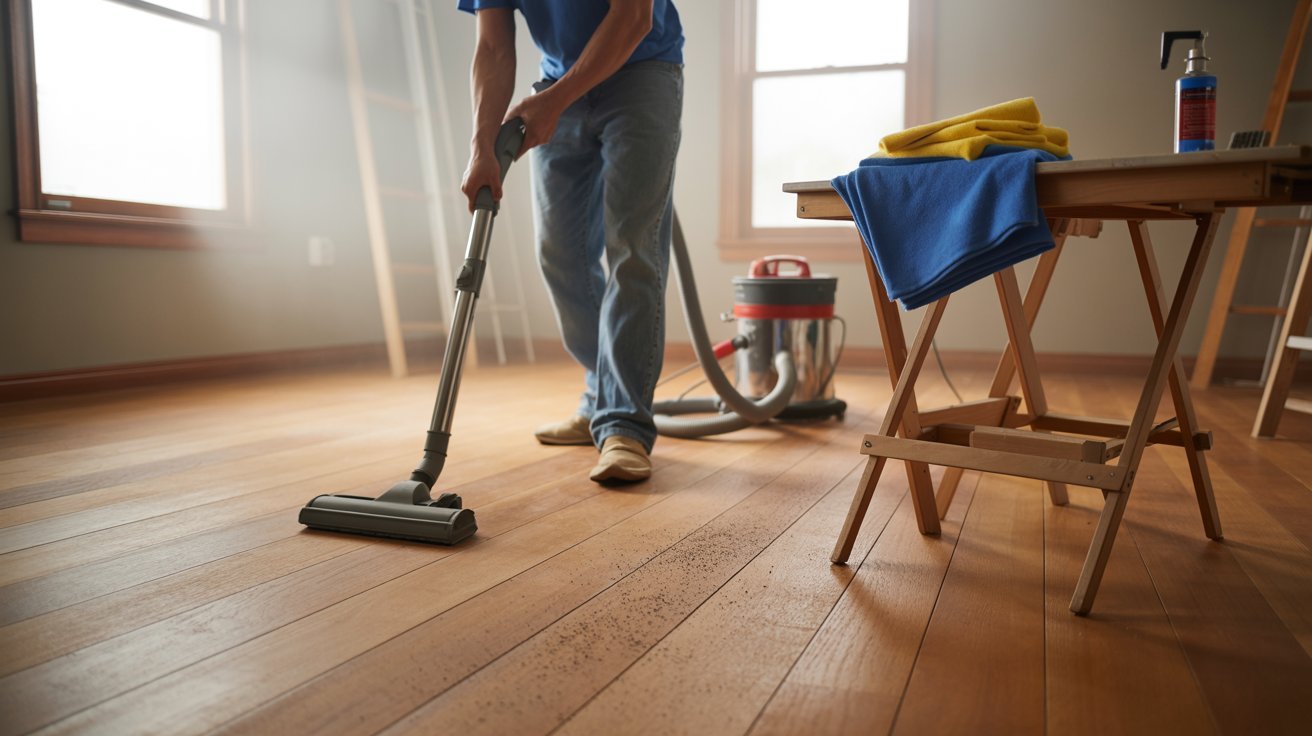
After screening, vacuum the entire floor using a soft brush attachment. Even small dust particles can ruin the new finish, so be thorough.
Wipe the floor down with a tack cloth or microfiber cloth dampened with mineral spirits. Let the floor dry fully before applying the new coat.
Step 5: Apply a Fresh Coat of Polyurethane

Start at the far end of the room and work toward the door. Apply the finish in thin, even strokes going with the wood grain.
Avoid going back over areas already coated as this can leave streak marks. Keep windows open for good airflow during application.
Step 6: Allow Proper Drying and Curing Time
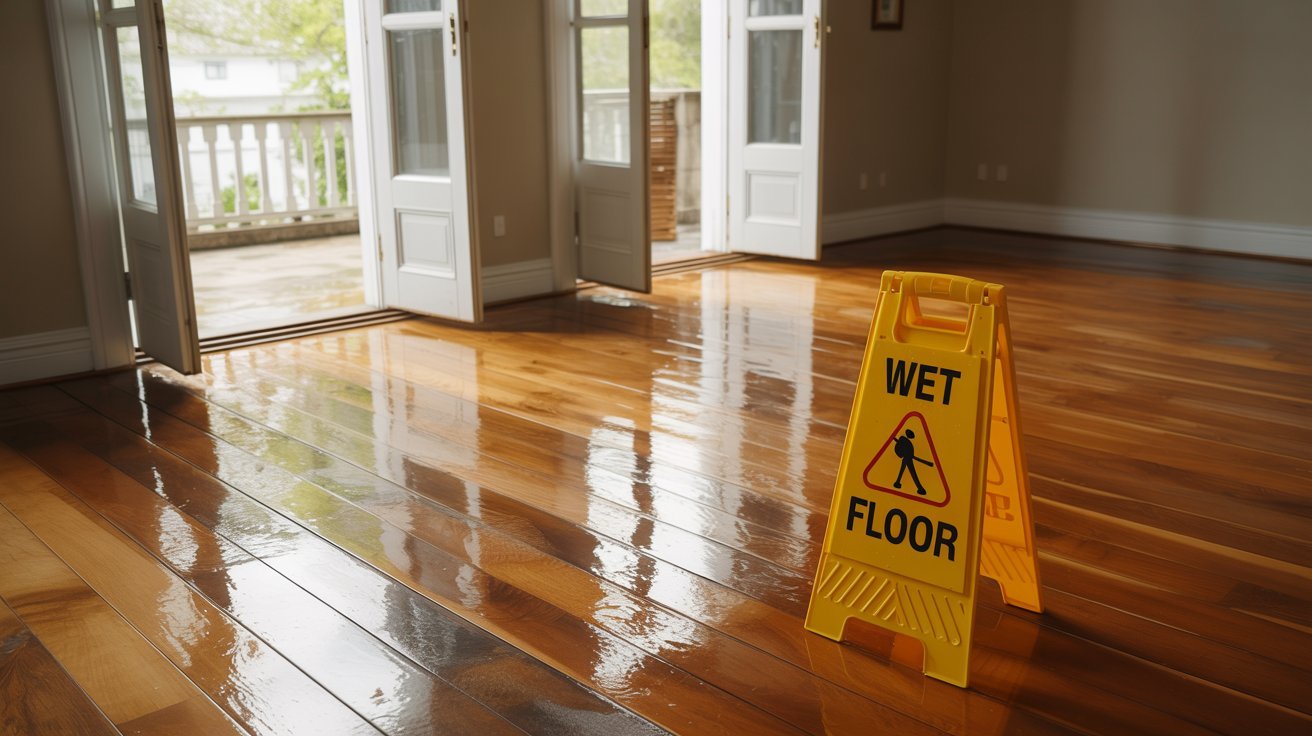
Water based polyurethane dries in two to four hours, while oil based takes around eight hours. Wait at least 24 hours before walking on the floor with socks.
Move furniture back after 48 to 72 hours and avoid rugs for two weeks. This gives the finish enough time to cure fully.
Common DIY Mistakes to Avoid
Many DIYers start with good intentions but end up with a floor that looks worse than before.
Using the Wrong Grit
Starting with too fine a grit will not remove old finish properly. Too coarse a grit leaves deep scratches that are hard to fix. Match the grit to your floor condition and work your way up with each pass.
Poor Cleaning and Dust Removal
Dust left on the surface gets trapped under the finish and creates a rough, bumpy look. Vacuum well after each sanding pass and wipe with a tack cloth. Let the floor dry fully before applying any finish.
Applying Finish Too Thickly
Thick coats take too long to dry and often bubble or peel over time. Thin, even coats always give better results. Two or three light coats will hold up far longer than one heavy coat.
Screen and Recoat Hardwood Floors vs Refinishing

Knowing the difference between screen and recoat and full refinishing helps you choose the right service for your hardwood floors.
Key Differences
| Factor | Screen and Recoat | Refinishing |
| Time | 1 to 2 days | 3 to 5 days |
| Cost | Lower | Higher |
| Mess | Minimal dust | Heavy dust and fumes |
| Best For | Dull, lightly worn floors | Deep scratches, stains, peeling finish |
| Wood Removal | None | Yes, removes a layer each time |
Which Option Is Best?
The right choice depends on your floor's condition. For dull, lightly worn floors, screen and recoat is the smarter pick as it costs less and gets done faster.
For deep scratches, stains, or peeling finish, refinishing is the way to go. When in doubt, a flooring professional can guide you to the right choice.
How Long Does a Screen and Recoat Last?

A screen and recoat helps restore your hardwood floors, but knowing how long it lasts helps you plan maintenance on time.
Average Lifespan
A screen and recoat typically lasts 3 to 5 years in most homes, though high foot traffic, pets, and kids can shorten this timeline.
Low traffic areas can hold up well beyond five years, while commercial spaces may need a recoat every 1 to 2 years.
Regular sweeping and gentle cleaning help extend the finish, but poor prep work during application is the fastest way to cut that lifespan short.
Tips to Make Your Screen and Recoat Last Longer
A few simple habits can keep your floors looking good for years.
- Sweep or dust mop daily to stop dirt and grit from scratching the finish.
- Use soft felt pads under furniture legs to avoid scuffs and pressure marks.
- Clean up spills right away before moisture soaks into the wood.
- Avoid harsh floor cleaners and stick to products made for finished hardwood.
- Place rugs in high traffic areas like hallways and entryways to reduce wear.
Small steps done consistently go a long way in keeping your floors in good shape.
Conclusion
I have seen firsthand how a simple screen and recoat can bring tired floors back to life without breaking the bank. It is one of those small home wins that makes a big difference.
If you are thinking about refreshing your hardwood floors, do not wait until the damage gets worse. A little care now saves a lot of cost later.
Have questions or tips of your own? Drop them in the comments. We would love to hear what has worked for you!
Frequently Asked Questions
What is a screen and recoat for hardwood floors?
A screen and recoat is a process that lightly scuffs the floor surface and applies a fresh coat of finish. It refreshes the look of your floors without the cost of a full refinish.
How often should I get a screen and recoat done?
Most homes need a screen and recoat every 3 to 5 years depending on foot traffic. High traffic areas may need attention sooner than low traffic ones.
Can I do a screen and recoat myself?
It is possible to do it yourself, but hiring a professional gives better and longer lasting results. Wrong prep or application can cause the finish to peel early.
How long does it take for the finish to dry after a screen and recoat?
The finish usually dries within 24 hours, but it is best to wait 48 to 72 hours before moving furniture back. Full hardening can take up to a week.
Does a screen and recoat fix deep scratches or stains?
No, a screen and recoat only works on surface level dullness and minor wear. Deep scratches or stains require sanding or a full refinish to fix properly.