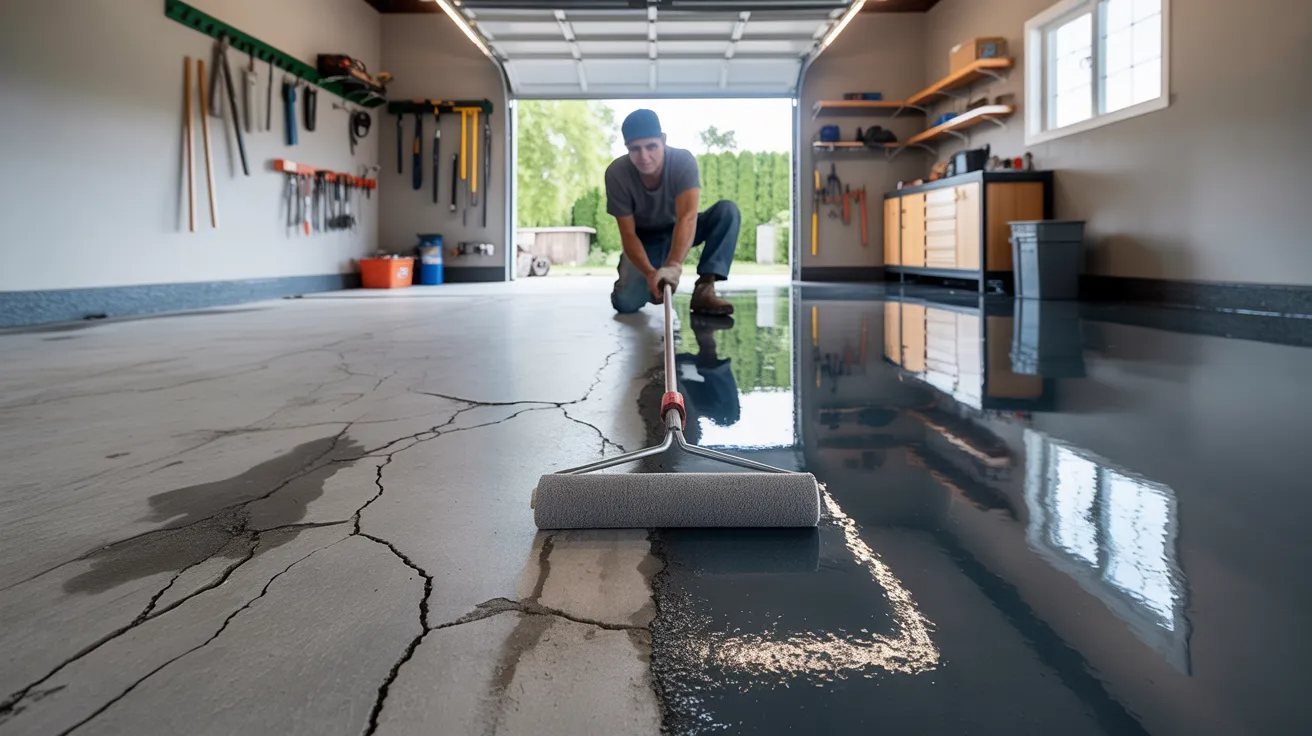

Your garage floor takes a beating every day. Oil stains, cracks, and peeling coating make it look worn out fast. The good news is you don't need to hire anyone to fix it.
This guide walks you through every step of refinishing your garage floor the right way. From cleaning and prep to applying the coating and letting it cure, we cover it all in simple, clear steps.
I've worked on floors that looked beyond saving. With the right approach and a little patience, you can do this yourself and save hundreds of dollars. I'll make sure you don't skip anything important.
By the end, you'll know exactly how to assess your floor, pick the right coating, prep the surface, apply it correctly, and avoid the mistakes that cause most DIY floors to fail.
Assessing Your Existing Garage Floor

Before you buy anything, look at your floor closely. A quick check now saves you time and money later.
Look for peeling coating, deep oil stains, surface cracks, dusty concrete, or water discoloration. If you spot two or more of these, it's time to refinish.
You can recoat over old epoxy but only if it's still bonded well. If it's peeling, remove it first. Applying new coating over bad epoxy leads to more peeling.
Choosing the Right Garage Floor Coating

Epoxy is the best starting point for most DIYers. It's affordable, widely available, and gives you enough working time to apply it without rushing.
| Coating Type | Cure Time | DIY Friendly | Cost |
| Epoxy | 24–72 hrs | Yes | Low |
| Polyurea | 2–4 hrs | Moderate | Medium |
| Polyaspartic | 1–2 hrs | Harder | High |
Polyurea handles temperature swings better. Polyaspartic cures fast but leaves little room for mistakes.
Choose based on your budget, climate, and experience level.
Tools and Materials You'll Need
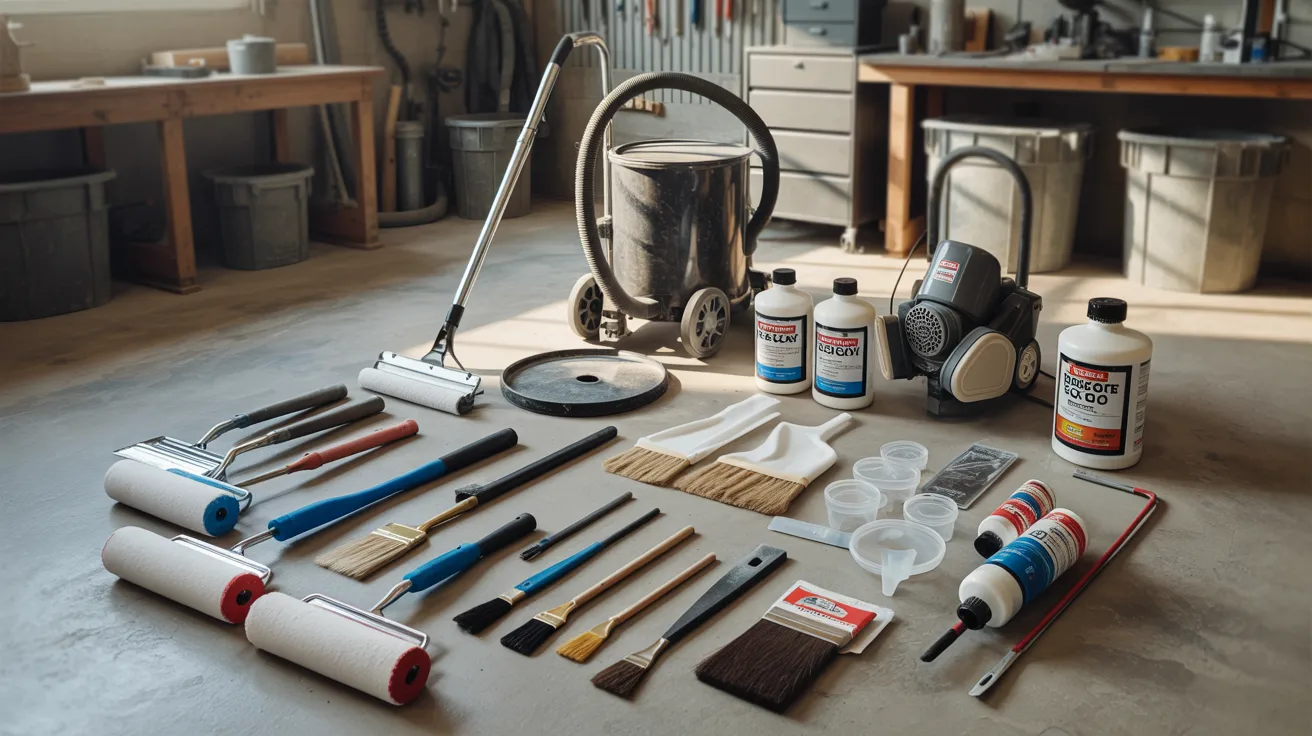
Prep tools: stiff broom, shop vacuum, concrete grinder or buffer, scraper
Cleaning supplies:concrete degreaser, scrub brush, etching solution
Application materials:epoxy kit, 3/8" nap roller, brush, mixing paddle
Safety gear: chemical-resistant gloves, safety glasses, vapor respirator, old clothes
Get everything ready before you start. Running to the store mid-project wastes time and ruins your wet edge.
Step-by-Step Guide How to Refinish a Garage Floor
Everything you need to know to clean, prep, coat, and protect your garage floor like a pro.
Step 1: Clear and Clean the Garage Floor

Move everything out, shelving, bikes, toolboxes, all of it. You need full access to every inch of the floor.
Sweep first, then vacuum with a shop vac. Pay close attention to corners and edges. Use a leaf blower to push remaining dust out the garage door.
Dust and loose material block the coating bond. Even a thin layer of grit can cause peeling within months. This step takes 30 minutes but protects hours of future work.
Step 2: Degrease and Deep Clean the Surface

Oil and grease don't just stain, they stop coatings from bonding
Pour concrete degreaser on stains, let it sit for 10–15 minutes, scrub hard, then rinse. Repeat for stubborn spots. For very old stains, mix degreaser with cat litter, let it dry on the stain, then sweep it up.
Pressure washing tips:
- Use 2,000–3,000 PSI
- Hold nozzle 6–8 inches from the surface
- Work in even overlapping passes
After washing, wait at least 24–48 hours for the floor to dry fully. Coating over wet concrete causes bubbling and peeling.
Step 3: Repair Cracks and Surface Damage
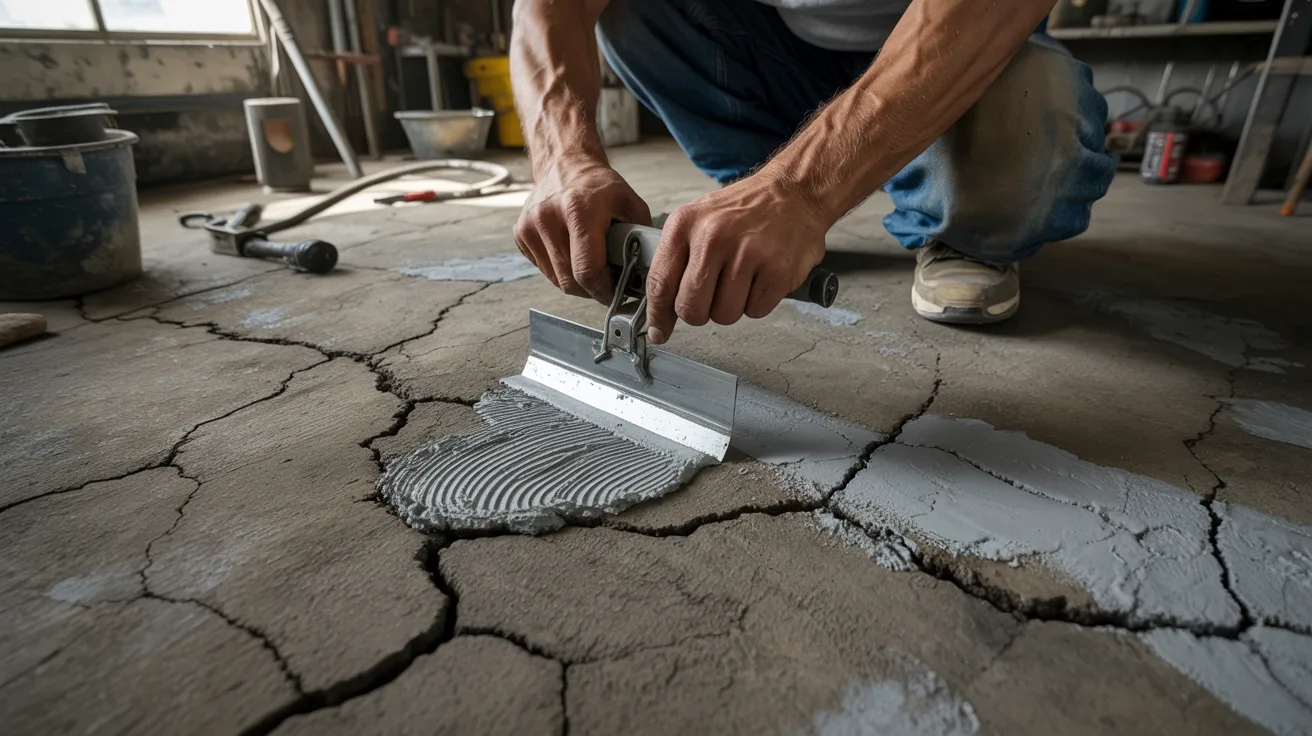
Don't coat over damage. Fix it first or it'll show through the finish.
- Use concrete crack filler or polyurethane caulk for thin cracks
- Use cement-based patching compound for cracks wider than 1/4 inch
- Clean cracks with a wire brush before filling
- Press vinyl patch compound firmly into holes, feather the edges, sand smooth once dry
Let all patches cure fully before moving on. Undercured patches crack again quickly.
Step 4: Prepare the Surface for Coating

This is the most important step. Don't rush it.
For bare concrete, use acid etching to open up the pores. Mix muriatic acid with water (always add acid to water), apply it, let it bubble, scrub, then rinse well. Safer pre-mixed etch solutions are also available at hardware stores.
For old coatings, you have two options:
| Method | Best For |
| Grinding | Removing old epoxy fully |
| Priming | Recoating over intact old epoxy |
Apply a recoat primer if you can't grind the floor. It acts as a bonding layer between old and new coatings.
Final checklist before you coat:
- Floor fully dry
- All cracks filled and cured
- Surface etched or ground
- No dust, oil, or debris
- Primer applied if needed
Step 5: Apply the Garage Floor Coating
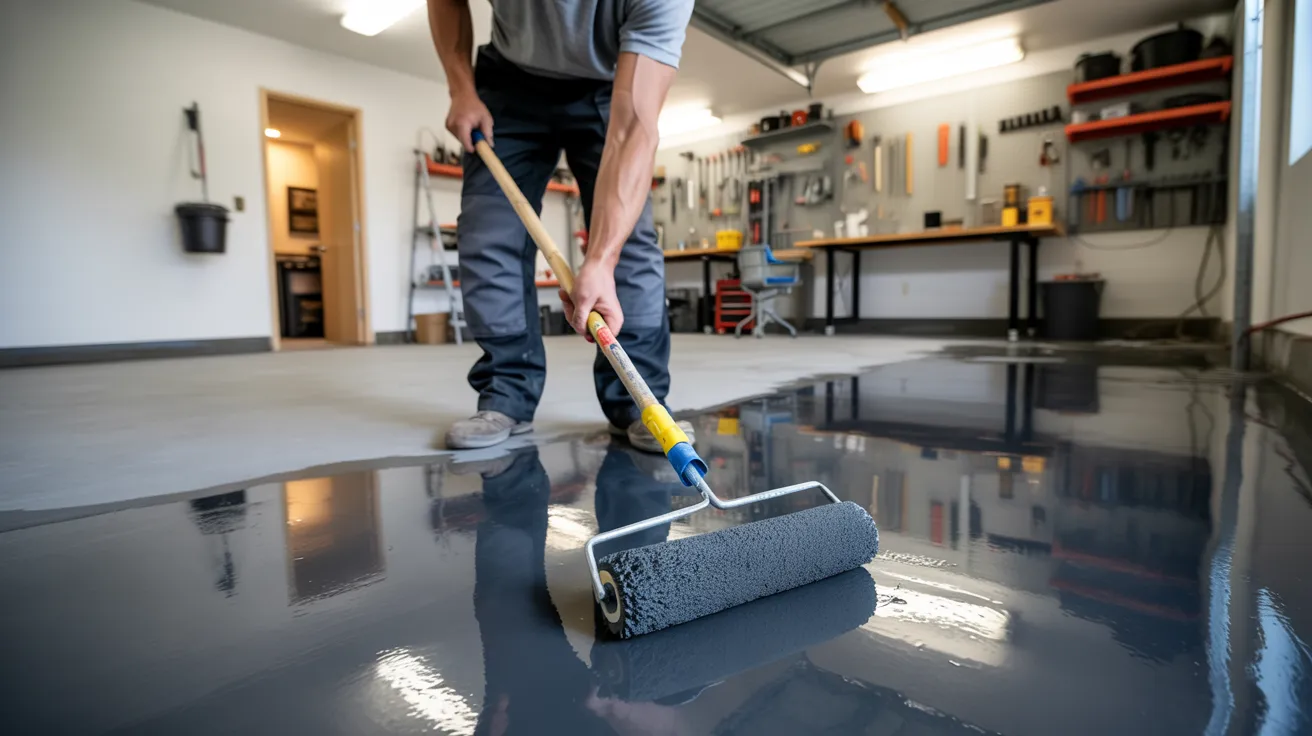
Mix Part A and Part B exactly as directed ,don't eyeball it. Use a drill with a mixing paddle for the full time listed (usually 3–5 minutes). Once mixed, your working time is limited, so have all tools ready.
Application steps:
- Cut in edges and corners with a brush, working about 6 inches from the wall
- Roll the coating in 4-foot sections using a 3/8" nap roller
- Apply even pressure ,don't press too hard
- Start at the back wall and work toward the garage door
- Keep a wet edge between sections to avoid lap marks
Don't stop in the middle of the floor. Finish each section before taking a break.
Step 6: Add Decorative Flakes (Optional)

Toss small handfuls of color flakes into the wet coating from above. Walk backward and spread them evenly as you go. For full coverage, toss until the floor looks completely covered. For a lighter look, sprinkle sparingly.
Flakes add grip, cover minor surface flaws, and give the floor a more finished look. Stick to neutral colors like gray or beige if you plan to sell the home.
Step 7: Let the Floor Cure Properly
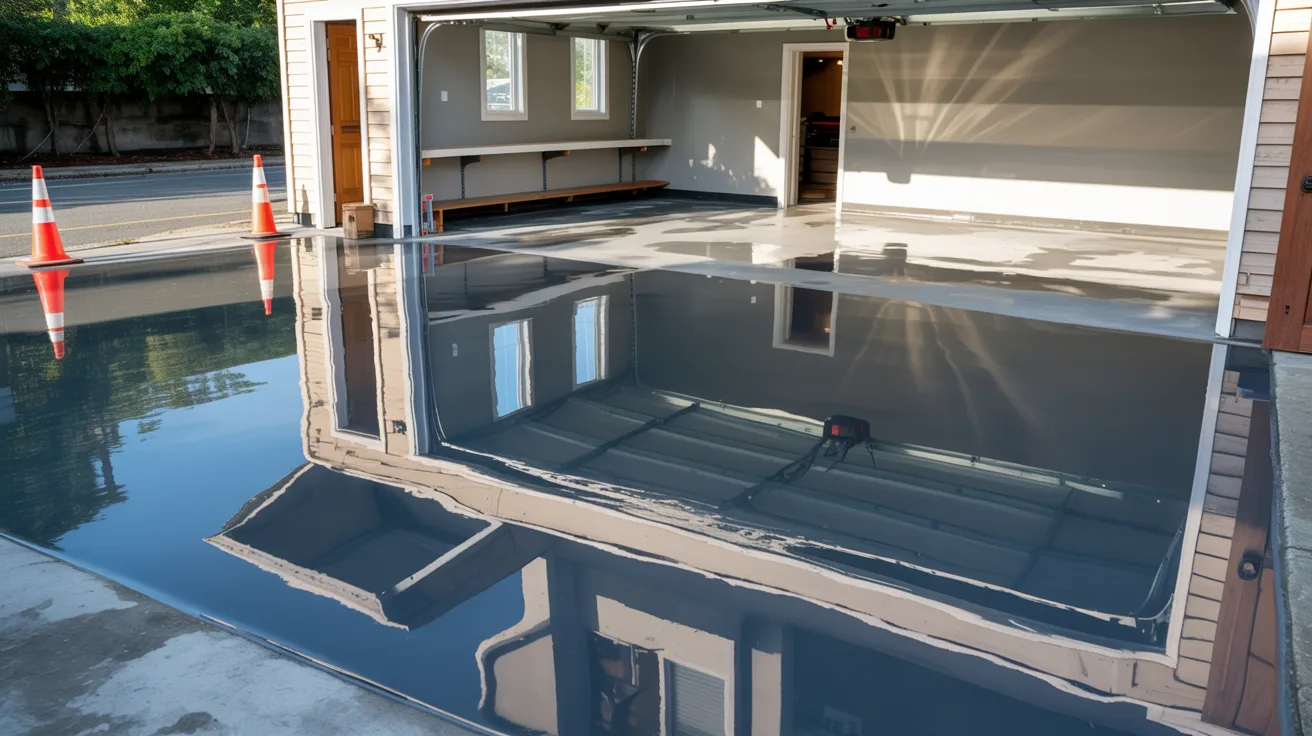
Allowing the floor to cure fully is essential for maximum durability, proper bonding, and a smooth long-lasting finish.
| Stage | Epoxy | Polyurea |
| Dry to touch | 8–10 hours | 2–4 hours |
| Light foot traffic | 24 hours | 6–8 hours |
| Vehicle traffic | 72 hours | 24 hours |
Apply coating when temps are between 50°F and 85°F. Avoid high humidity days. Don't park on the floor too soon, it leaves tire marks and can pull up the coating.
Common Mistakes to Avoid
Avoiding common mistakes like poor surface prep, incorrect coating thickness, moisture issues, and weak ventilation helps ensure your floor coating lasts longer and cures properly.
- Skipping prep: coating won't bond to dirty or oily concrete
- Wrong thickness: too thin and it won't protect, too thick and it cracks
- Ignoring moisture: tape plastic sheeting to the floor for 24 hours; if the concrete looks wet underneath, fix the moisture problem before coating
- Poor ventilation: open all doors and windows, run a fan, wear a respirator
How Much Does It Cost?

Planning your garage floor refinishing budget is easier when you understand the tools, materials, and supplies required for the project.
| Garage Size | Estimated DIY Cost |
| 1-car (200–250 sq ft) | $150–$250 |
| 2-car (400–500 sq ft) | $250–$400 |
| 3-car (600–700 sq ft) | $350–$600 |
Hiring a professional runs $1,000–$3,000 or more. DIY makes sense for most homeowners unless you have major moisture issues or a very large space.
Tips to Maintain Your Refinished Floor
Proper maintenance helps your refinished garage floor stay clean, durable, and looking new for years after the project is complete.
- Sweep weekly, mop monthly with a pH-neutral cleaner
- Wipe up spills right away especially oil and brake fluid
- Use a topcoat or sealer to prevent hot tire pickup
- Recoat every 3–5 years when the finish looks dull or worn
Conclusion
Refinishing your garage floor is more rewarding than it looks at the start. I remember staring at a cracked, oil-stained slab thinking it was beyond saving, it wasn't. With the right prep and a little patience, it came out better than I expected.
You've got everything you need right here. Take your time on prep, don't rush the cure, and the results will speak for themselves.
Drop a comment below and let me know how your project turns out. I'd love to hear from you!
Frequently Asked Questions
How Long Does a Refinished Garage Floor Last?
A properly applied epoxy floor lasts 5 to 10 years with regular care. Polyurea and polyaspartic coatings can last 10 to 15 years depending on traffic and maintenance.
Can You Apply New Epoxy Over Old Epoxy?
Yes, but only if the old coat is firmly bonded and not peeling. Lightly sand or grind the surface and apply a bonding primer before adding the new coat.
What Is the Best Garage Floor Coating for DIY Use?
Epoxy is the most beginner-friendly option. It's affordable, widely available, and gives you enough working time without rushing.
Do You Need to Grind the Concrete First?
Not always. Grinding works best for removing old coatings. For bare concrete in good condition, acid etching is easier and doesn't require renting equipment.
How Do I Know If My Floor Has a Moisture Problem?
Tape a 2-foot square of plastic sheeting to the floor and seal the edges. Wait 24 hours. If you see condensation or wet concrete underneath, moisture is coming up through the slab.