
Vinyl flooring is tough, but it is not damage proof. Scratches, peeling edges, and moisture problems are more common than most people think.
This guide covers everything you need to know about fixing and caring for vinyl flooring. From knowing when a simple repair is enough to understanding when a full replacement makes more sense.
I have worked with enough damaged floors to know that catching problems early saves a lot of time and money.
We will cover when to repair, when to replace, how to stop future damage, and answers to the most common questions people ask. You will leave with a clear plan and real solutions.
What Is Vinyl Flooring?
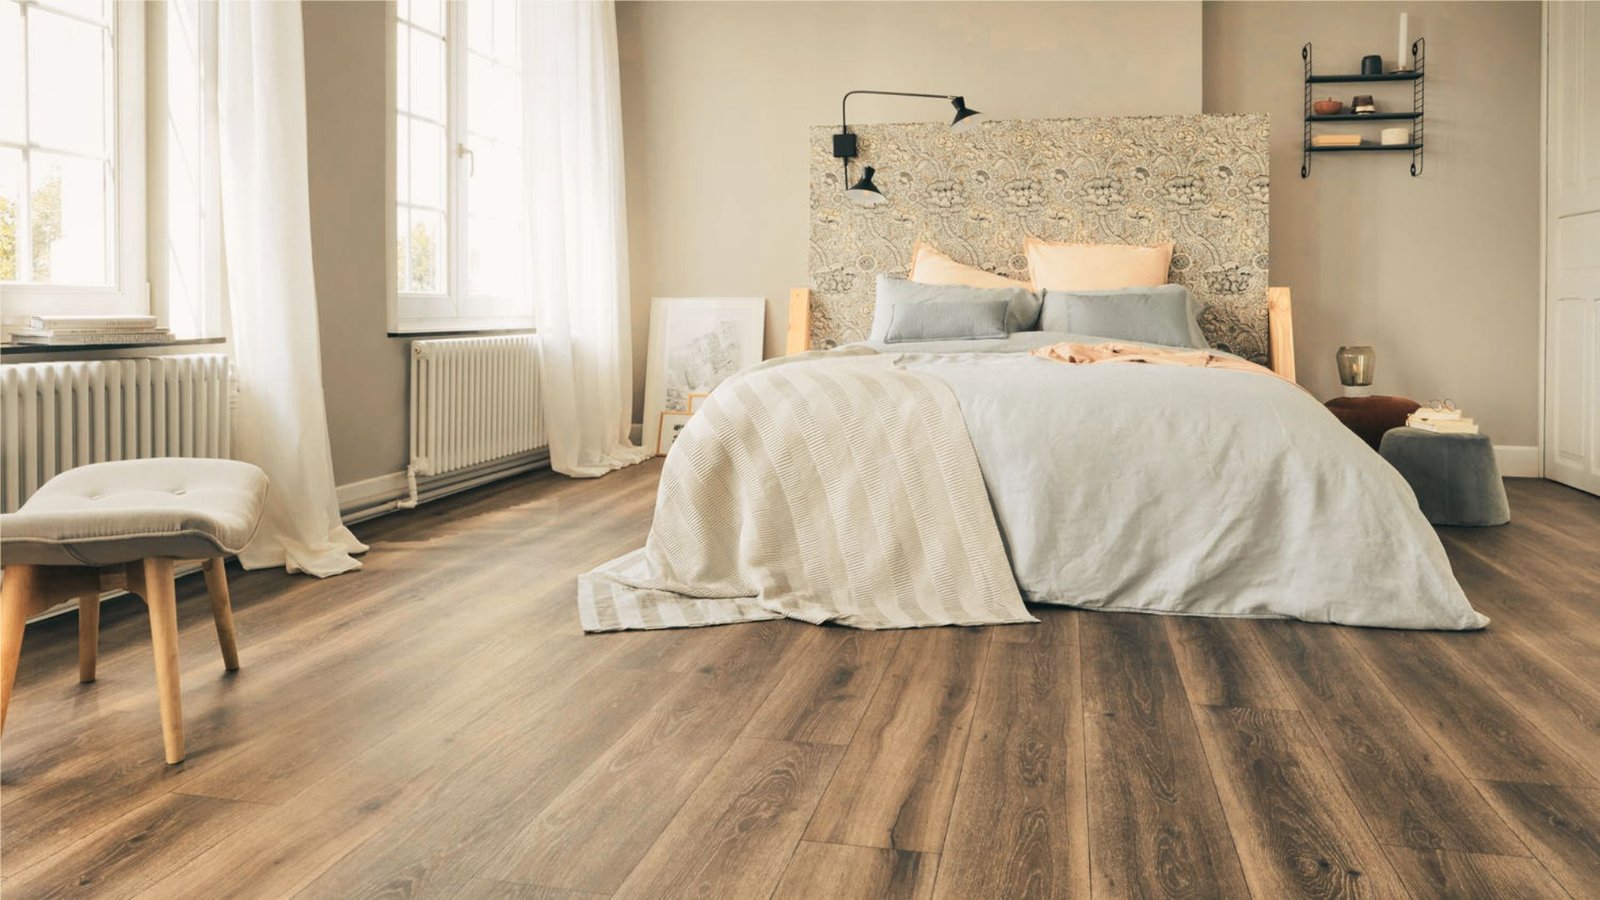
Vinyl flooring is a man made floor covering built from PVC. It is designed to look like wood, stone, or tile at a much lower cost. It comes in sheets, tiles, and luxury planks that click together for easy DIY installation.
It is water resistant, easy to clean, and works well in kitchens, bathrooms, and basements. Basic vinyl lasts 5 to 10 years, while higher quality options can last up to 25 years.
Prices start at $0.50 per square foot, making it one of the most affordable flooring options available.
Common Types of Vinyl Flooring Damage

Vinyl floors can face several types of damage over time. Knowing what to look for helps you act fast.
Scratches and Scuffs
Scratches are one of the most common problems with vinyl flooring. They usually show up in high traffic areas like hallways, kitchens, and entryways.
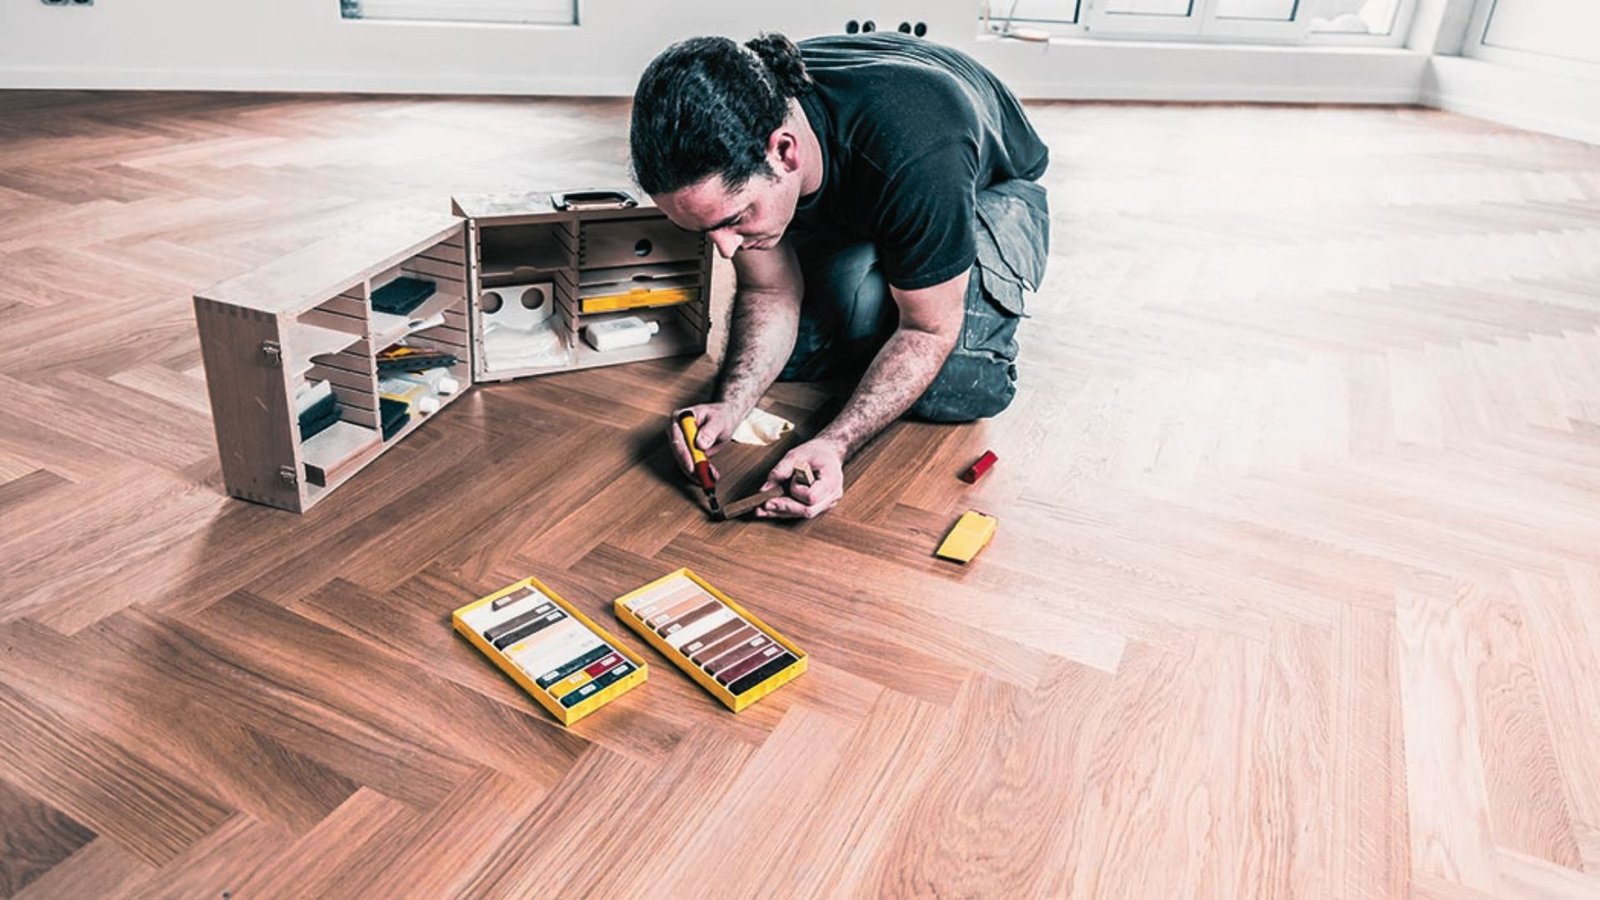
Light scuffs come from shoes, furniture legs, or pet claws. Minor scratches are often fixable with a vinyl floor repair kit or a simple buffing method.
Tears, Cuts, and Gouges
Tears and cuts go deeper than scratches and break through the surface layer of the vinyl. This often happens when sharp objects fall on the floor or appliances are moved without floor protection.
Left untreated, water can seep into the damaged area and cause more problems underneath.
Lifting, Peeling, and Bubbles
Vinyl flooring can start to lift or peel at the edges when the adhesive breaks down or moisture gets underneath.
Bubbles form when air gets trapped under the sheet due to poor installation or humidity changes. It is best to fix these issues early before the damage spreads further.
Tools and Materials Needed to Repair Vinyl Flooring
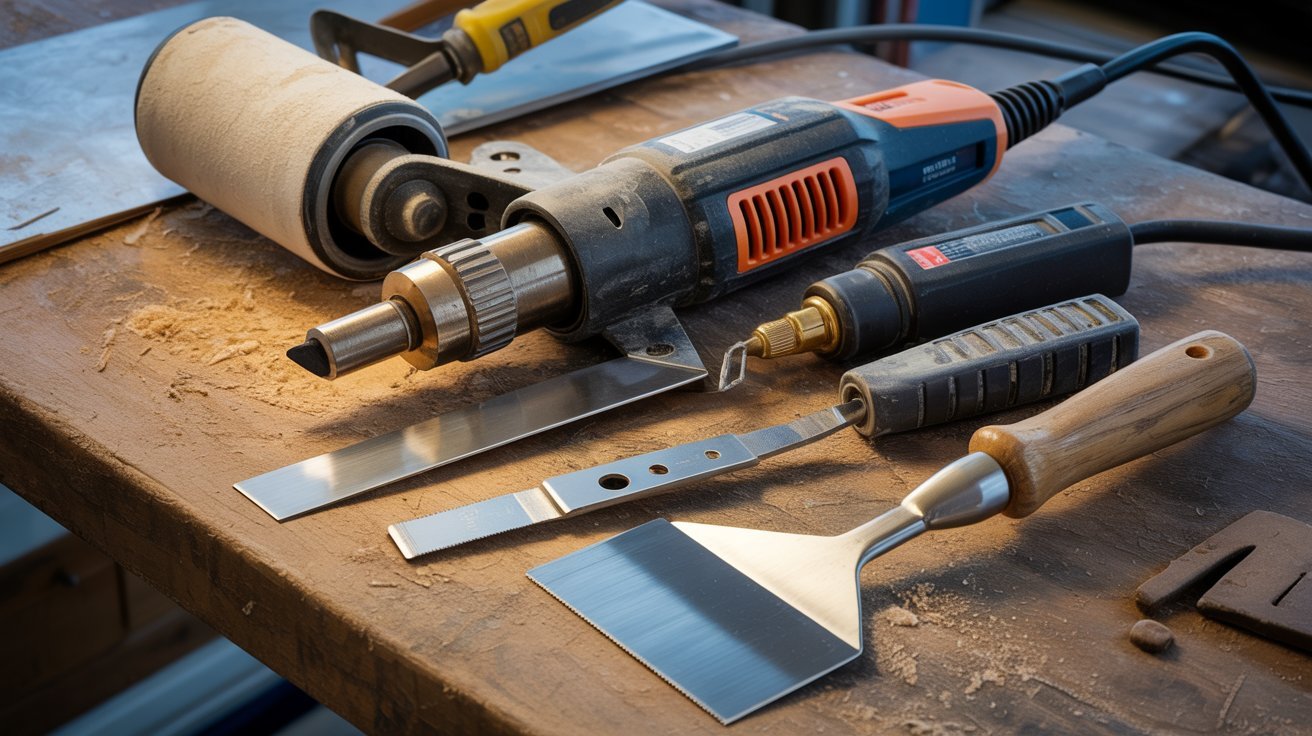
Before starting a vinyl flooring repair job, knowing what tools and materials you need will save you time and effort.
Important Repair Tools
A utility knife makes clean cuts through vinyl, while a floor roller presses new vinyl firmly onto the surface. A putty knife lifts damaged sections safely, and a heat gun softens vinyl before removal.
Fillers, Adhesives, and Sealers
A vinyl floor filler works well for small cracks and gouges. Floor adhesive re-bonds lifted areas back to the subfloor. A seam sealer locks edges in place and keeps moisture from getting underneath.
How to Repair Vinyl Flooring Scratches
Vinyl flooring can get scratched over time. The good news is that most scratches can be fixed at home without much effort.
Fixing Light Scratches

Clean the area with warm water and dish soap, then let it dry fully. Apply a small amount of floor polish or vinyl repair wax over the scratch and rub it in with a soft cloth using circular motions.
Buff the area lightly after it dries and the scratch should fade away.
Repairing Deep Scratches

Clean the damaged area first and let it dry. Pick a repair compound that matches your floor color and press it into the scratch using a putty knife.
Let it dry for a few hours, then lightly sand the spot with fine grit sandpaper. Wipe away the dust and apply a thin layer of floor polish to help it blend in.
How to Repair Tears, Cuts, and Gouges in Vinyl Flooring

Vinyl flooring can get damaged over time. Learn simple steps to fix tears, cuts, and gouges at home with ease.
Using Vinyl Patch Compound
Clean the damaged area and make sure it is fully dry. Apply the patch compound into the cut or gouge using a putty knife and smooth the top so it sits level with the floor.
Let it dry fully before checking the result. If the area still looks uneven, apply a second thin layer and let it dry again.
Sanding and Sealing the Area
Once dry, lightly sand the area with fine grit sandpaper using small circular motions. Wipe away the dust with a clean damp cloth and let it dry.
Apply a thin coat of vinyl floor sealer with a small brush to protect the repair. Let it dry fully before walking on it and check the label to see if a second coat is needed.
How to Repair Vinyl Flooring Seams and Lifting

Vinyl flooring can develop seams, lifting, and peeling over time. Here is how to fix each problem quickly and correctly.
How to Repair Vinyl Flooring Seams
Clean the seam area first and let it dry fully. Apply painter's tape on both sides of the seam to keep things neat. Then apply seam sealer into the gap using a thin, steady line.
Press the vinyl edges down with a roller or heavy book. Let it dry completely before walking on it.
How to Repair Vinyl Flooring That Is Lifting
Carefully lift the loose section using a putty knife. Scrape off the old adhesive from both the floor and the back of the vinyl.
Apply a thin layer of new vinyl adhesive to the subfloor and press the vinyl back down. Roll over it firmly and place heavy objects on top for 24 hours to let it bond.
How to Repair Vinyl Flooring That Is Peeling Up
Gently peel back the loose section without forcing it. Clean the subfloor and remove any old adhesive or debris.
Apply new vinyl adhesive evenly and press the vinyl back into place from the center outward. Roll over it firmly, then use painter's tape along the edges. Leave it for 12 to 24 hours before use.
If the same spot keeps peeling, moisture under the floor may be the cause. Check for water damage and consider using a moisture resistant adhesive.
How to Repair Vinyl Flooring Bubble Problems

Vinyl floor bubbles are a common issue in many homes. Learn what causes them and how to fix them fast.
What Causes Vinyl Floor Bubbles
Water trapped beneath the vinyl breaks the bond between the vinyl and the subfloor. Air pockets can form if the flooring was not laid flat or the adhesive was uneven.
High heat and direct sunlight cause vinyl to expand and lift. Old or weak glue losing its grip can also cause bubbles over time.
Fixing Small and Large Bubbles
For small bubbles, apply heat with a hair dryer until the vinyl softens, then press it down firmly. If air is trapped, use a syringe to push it out and inject a small amount of adhesive through the same hole.
For large bubbles, make a small cut, apply fresh adhesive underneath, and press the edges back down. If the bubble keeps coming back, replace that section completely.
Can You Repair Vinyl Flooring Without Replacing It?

Vinyl flooring can often be fixed without a full replacement. Know when a quick fix is enough and when starting fresh makes more sense.
When Repairs Are Enough
Small problems do not always need a full floor replacement. Shallow scratches can be filled with a vinyl repair kit. Lifted edges can be pressed back down with floor adhesive. A single damaged tile can be swapped out on its own.
Repairs work well when the damage is minor and the rest of the floor is in good condition.
When Replacement Is Better
Some problems go beyond what a patch can fix. If damage covers a large area, the floor has worn out completely, or water has gotten under the surface and affected the subfloor, a repair will not hold up for long.
If you cannot find matching vinyl for a patch, replacing the whole floor gives you a cleaner and more consistent result.
Tips to Prevent Future Vinyl Flooring Damage
Simple daily habits and the right precautions can keep your vinyl flooring looking good and lasting much longer.
- Stick felt pads to the bottom of chair and table legs to prevent dents from heavy furniture.
- Always lift furniture when moving it. Dragging leaves long scratch marks on the surface.
- Wipe up spills right away. Water sitting near seams can work its way underneath the flooring.
- Check under appliances and sinks regularly. Small leaks can damage both the vinyl and the subfloor.
- Place a doormat at every entry point to stop grit and dirt from scratching the floor.
Taking care of vinyl flooring does not require much effort. Small habits done consistently go a long way toward avoiding costly repairs later.
Conclusion
Vinyl flooring holds up well, but it still needs a little attention. I have seen how one ignored spill or a dragged chair can lead to damage that could have been avoided so easily. Small steps really do make a difference over time.
If your floor already has some wear, do not wait too long to fix it. Early action saves money and stress.
Have you dealt with vinyl flooring damage before? Drop a comment below and share what worked for you. Someone else might need that exact tip.
Frequently Asked Questions
Can vinyl flooring be repaired without replacing the whole floor?
Yes, in many cases it can. Small scratches, lifted edges, and single damaged tiles can all be fixed without touching the rest of the floor.
How do I stop my vinyl floor from peeling at the edges?
Apply vinyl floor adhesive under the lifted edge and press it down firmly. Wipe away any extra glue and hold the edge flat until it sets.
What causes bubbles or bumps in vinyl flooring?
Bubbles usually form when moisture gets trapped underneath or when the adhesive starts to fail. Fixing the moisture source early stops the problem from getting worse.
Is it okay to use a wet mop on vinyl flooring?
A damp mop is fine, but a soaking wet mop is not. Too much water can seep into the seams and damage the subfloor over time.
How long does vinyl flooring usually last before it needs replacing?
With proper care, vinyl flooring can last anywhere from 10 to 20 years. Regular cleaning and avoiding heavy impact will help it reach that range comfortably.