
A sagging floor is stressful. It raises questions fast. Is it safe to walk on? How bad is it? Can I fix it myself?
We have helped many homeowners work through this exact problem. This guide gives you clear, honest answers.
You will find everything here, from what causes floors to sag, to the warning signs, the right tools, and step-by-step repair instructions. We also cover common mistakes to avoid and when it is time to call a professional.
You do not need to be an expert. You just need the right steps. We will walk you through the whole process so you can fix it with confidence.
What Causes Sagging Floors?
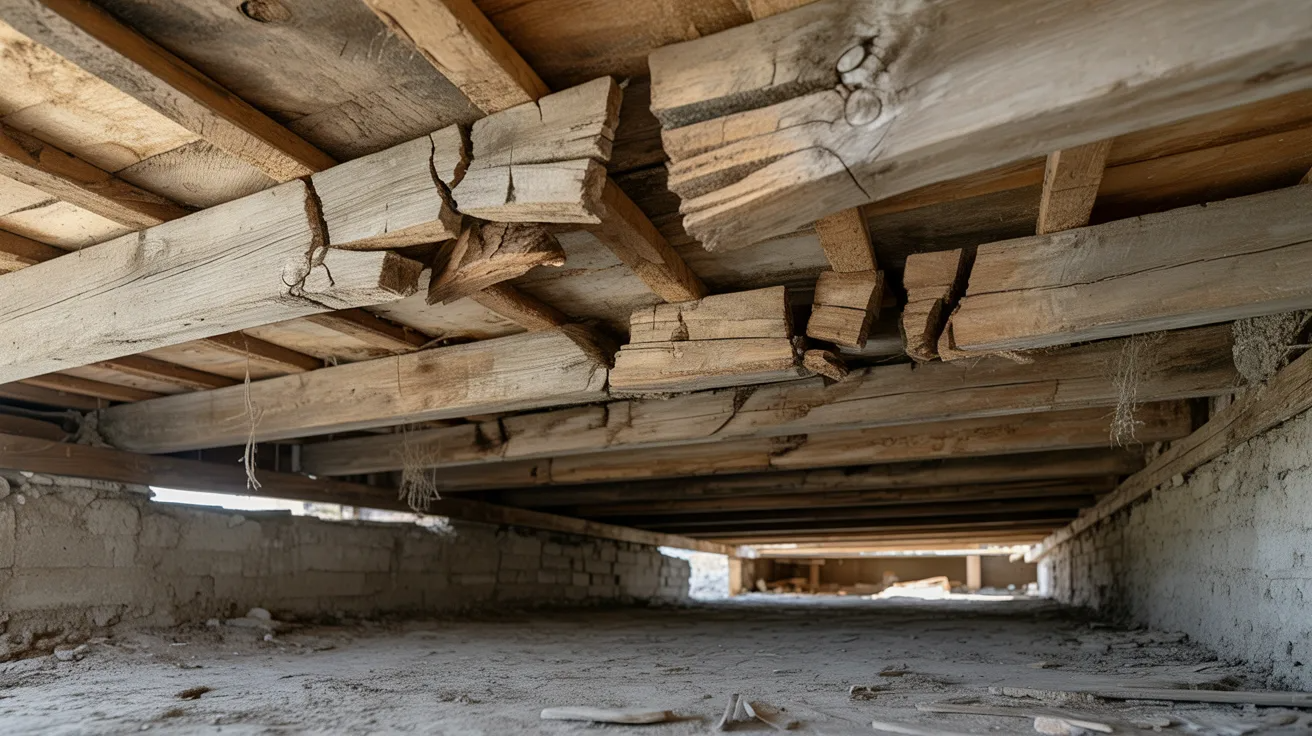
Sagging floors usually point to a few common problems happening beneath the surface.
Damaged floor joists are a leading cause. These are the beams that hold your floor up. Cracks, splits, or pest damage weaken them over time, causing the floor above to dip.
Moisture and wood rot also play a big role. When water gets into crawl spaces or basements, it breaks down the wood slowly. Rotted wood simply cannot hold weight the way solid wood can.
Weak crawl space supports are another reason floors sag. These posts and columns hold up the main floor beam.
If they shift, sink, or decay, the floor above loses its support and begins to drop.
Fixing the root cause early saves you from bigger repairs down the road.
Signs Your Floor Needs Repair
Know the early warning signs before small floor issues turn into costly repairs.
Uneven or Sloping Floors
If your floor feels lower on one side or furniture seems to tilt, your floor may be sloping. This often points to weak joists, a damaged subfloor, or shifting ground below. Act on it early to avoid bigger repair costs.
Squeaky or Bouncy Areas
One or two squeaks are normal. But if a spot feels soft or bouncy underfoot, the subfloor may be weakened from water damage or heavy use over time. Press down with your foot. If it gives or creaks loudly, get it checked soon.
Gaps Near Baseboards
Small gaps can form as wood reacts to humidity changes. That is normal. But wide or spreading gaps around the room are a sign the floor is shifting or dealing with moisture issues below. Check along the wall and call a pro if the gaps keep growing.
Tools Needed for DIY Sagging Floor Repair
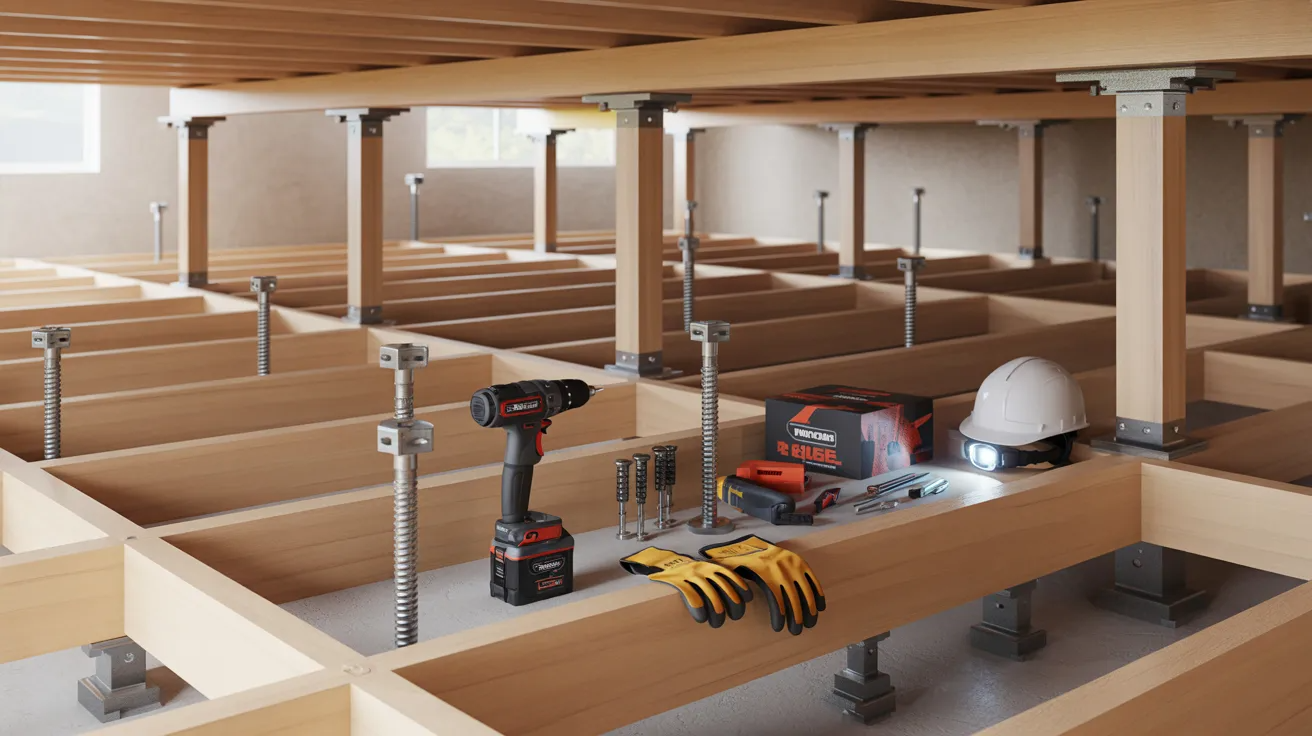
Having the right tools ready before starting makes the repair process smoother and safer.
- Screw jacks help slowly lift a sagging floor and should raise it no more than ¼ inch per week.
- 4×4 or 6×6 lumber posts provide strong support for the repaired floor area.
- Base beams, structural screws, and lag bolts help secure and stabilize the structure safely.
- A power drill is needed to attach support beams and reinforce damaged wood.
- Safety gear like gloves, safety glasses, a hard hat, knee pads, and a headlamp keeps the work safer and easier.
How to Fix a Sagging Floor Yourself
A sagging floor gets worse over time if left alone. The good news is you can fix it yourself with the right tools and a little patience.
Step 1: Inspect the Crawl Space

Look under your home to find out what is causing the sag. Put on gloves, a dust mask, and knee pads before going under the house.
Bring a bright flashlight and look for cracked wood, rot, broken beams, or pest damage.
Take photos of every problem spot.
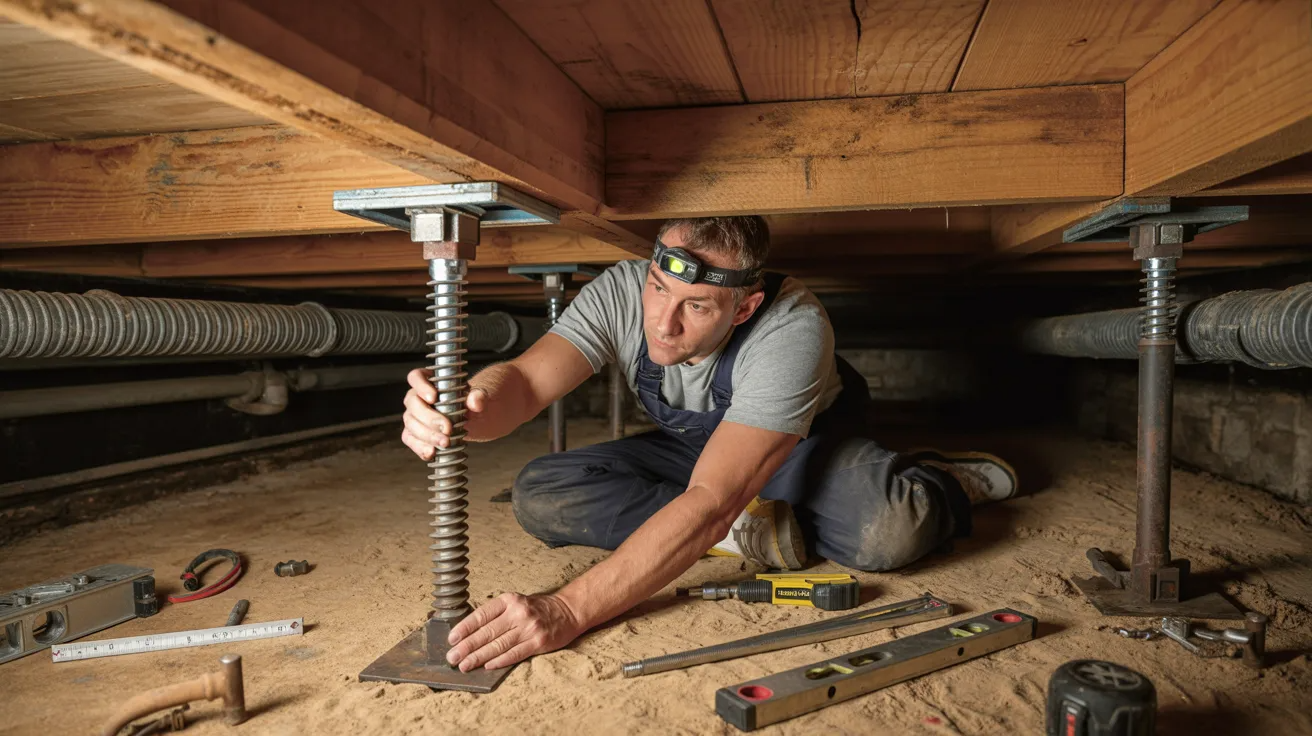
Step 2 : Install Support Jacks

Support jacks hold up weak beams and stop further sagging.
Pick up adjustable steel screw jacks from your local hardware store. Place a solid concrete pad under each jack location first.
Then set the jack directly under the weak beam and make sure it stands perfectly straight.
Step 3: Sister the Damaged Joists

A new board next to a damaged joist gives it back its strength.
Cut a new piece of lumber to match the damaged joist.
Press it tightly against the old board and fasten both together with structural screws every 12 inches. Repeat on the other side if the damage is bad.
Step 4: Slowly Lift and Level the Floor
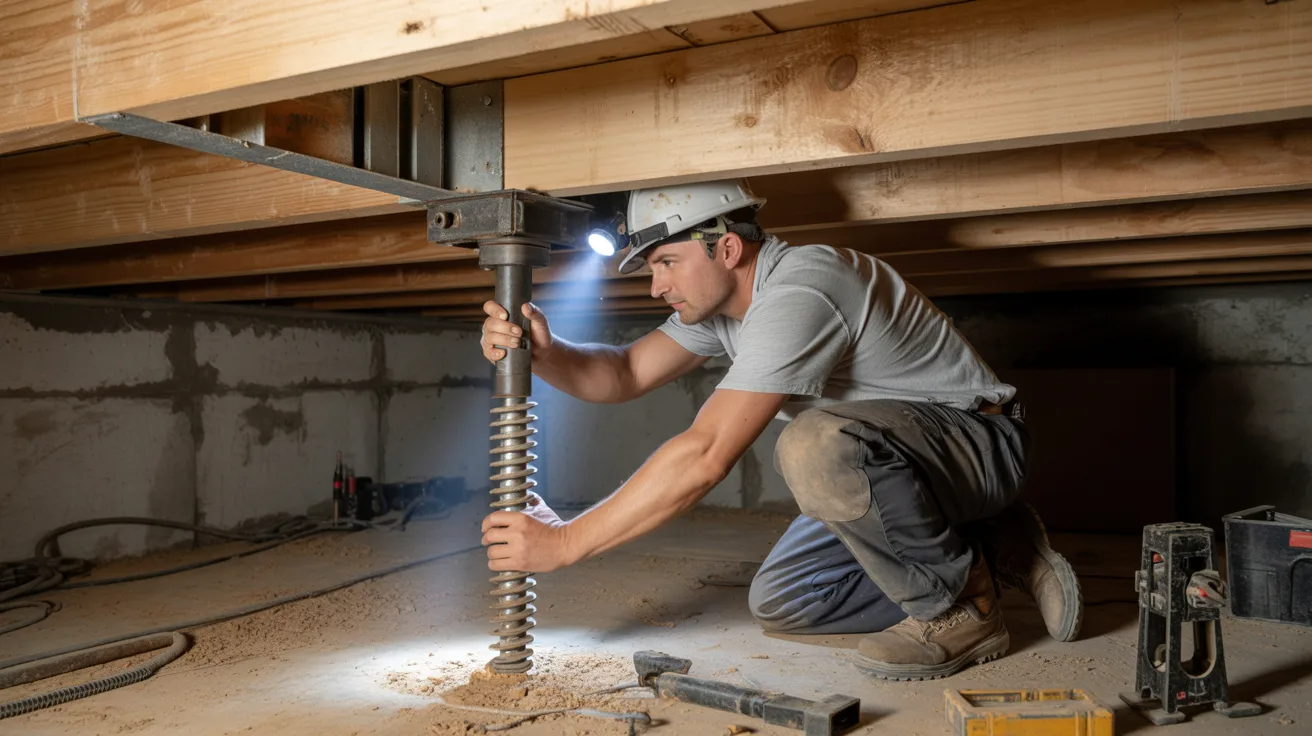
Slow and steady is the only right way to raise a sagging floor.
Turn each jack only a quarter turn per day.
Check the floor level daily and keep adjusting over several weeks. Once level, lock the jack or replace it with a permanent post.
Mistakes to Avoid During Repairs
Small repair mistakes can cost you more time and money. Here are the key errors to watch out for.
- Skipping the Diagnosis: Many people jump straight into fixing without finding the real cause. This often leads to the same problem coming back. Always check what is actually wrong before picking up any tools.
- Using the Wrong Parts: Cheap or incorrect replacement parts may seem like a good deal at first. But they tend to fail faster and can damage other components. Always use parts that match your make and model.
- Ignoring Safety Steps:Turning off power or disconnecting a battery before starting work is not optional. Skipping this step puts you at serious risk. Safety always comes first, no matter how small the job seems.
- Over-Tightening Screws and Bolts: Applying too much force can crack plastic parts or strip threads. This turns a simple fix into a bigger repair. Tighten just enough to hold things firmly in place.
- Not Keeping Track of Parts:It is easy to lose small screws or forget where a part came from. Use a tray or take photos as you work. This saves a lot of frustration when putting things back together.
When to Call a Professional
Some repairs are fine to handle yourself. But certain types of damage need a professional.
If the rot has spread across a large area or reached load-bearing beams, floor joists, or structural posts, call a contractor. These parts carry weight, and bad repairs can put the whole structure at risk.
The same goes for any rot that sits near your foundation. A pro can check how deep the damage goes and fix it the right way.
You should also call someone if you notice doors that no longer close right, uneven floors, or walls that seem to be shifting. These can be signs that the structure has already been weakened.
Do not try to fix structural movement on your own. Getting it wrong can make things worse and create serious safety risks.
Conclusion
Sagging floors can feel overwhelming at first, but most repairs are manageable when you catch them early.
I always say the crawl space is the most ignored part of a home until something goes wrong. Start small, stay consistent, and do not rush the lifting process.
If the damage looks serious, call a pro without hesitation. Your safety matters more than saving a few dollars.
Found this guide helpful? Drop a comment below or share it with someone dealing with sagging floor repair right now.
Frequently Asked Questions
What causes a floor to sag in the first place?
Damaged joists, wood rot, moisture buildup, and weak crawl space supports are the most common reasons floors start to sag.
Can I fix a sagging floor without hiring a contractor?
Yes, minor sagging caused by weak joists or supports can often be fixed with screw jacks and basic tools.
How long does it take to level a sagging floor?
It depends on the damage, but a safe lifting process usually takes several weeks since you should only raise the floor a quarter inch per week.
How do I know if my sagging floor is a safety risk?
If you notice shifting walls, doors that will not close, or wide floor gaps, the structure may be compromised and needs professional attention.
Does homeowners insurance cover sagging floor repairs?
Most standard policies do not cover sagging floors caused by rot or neglect, but damage from a sudden event like a pipe burst may be covered.